Airstream Remodel Episode 10: Leakpocalypse 2: The Leakoning
SPRING BREAK, BABY!
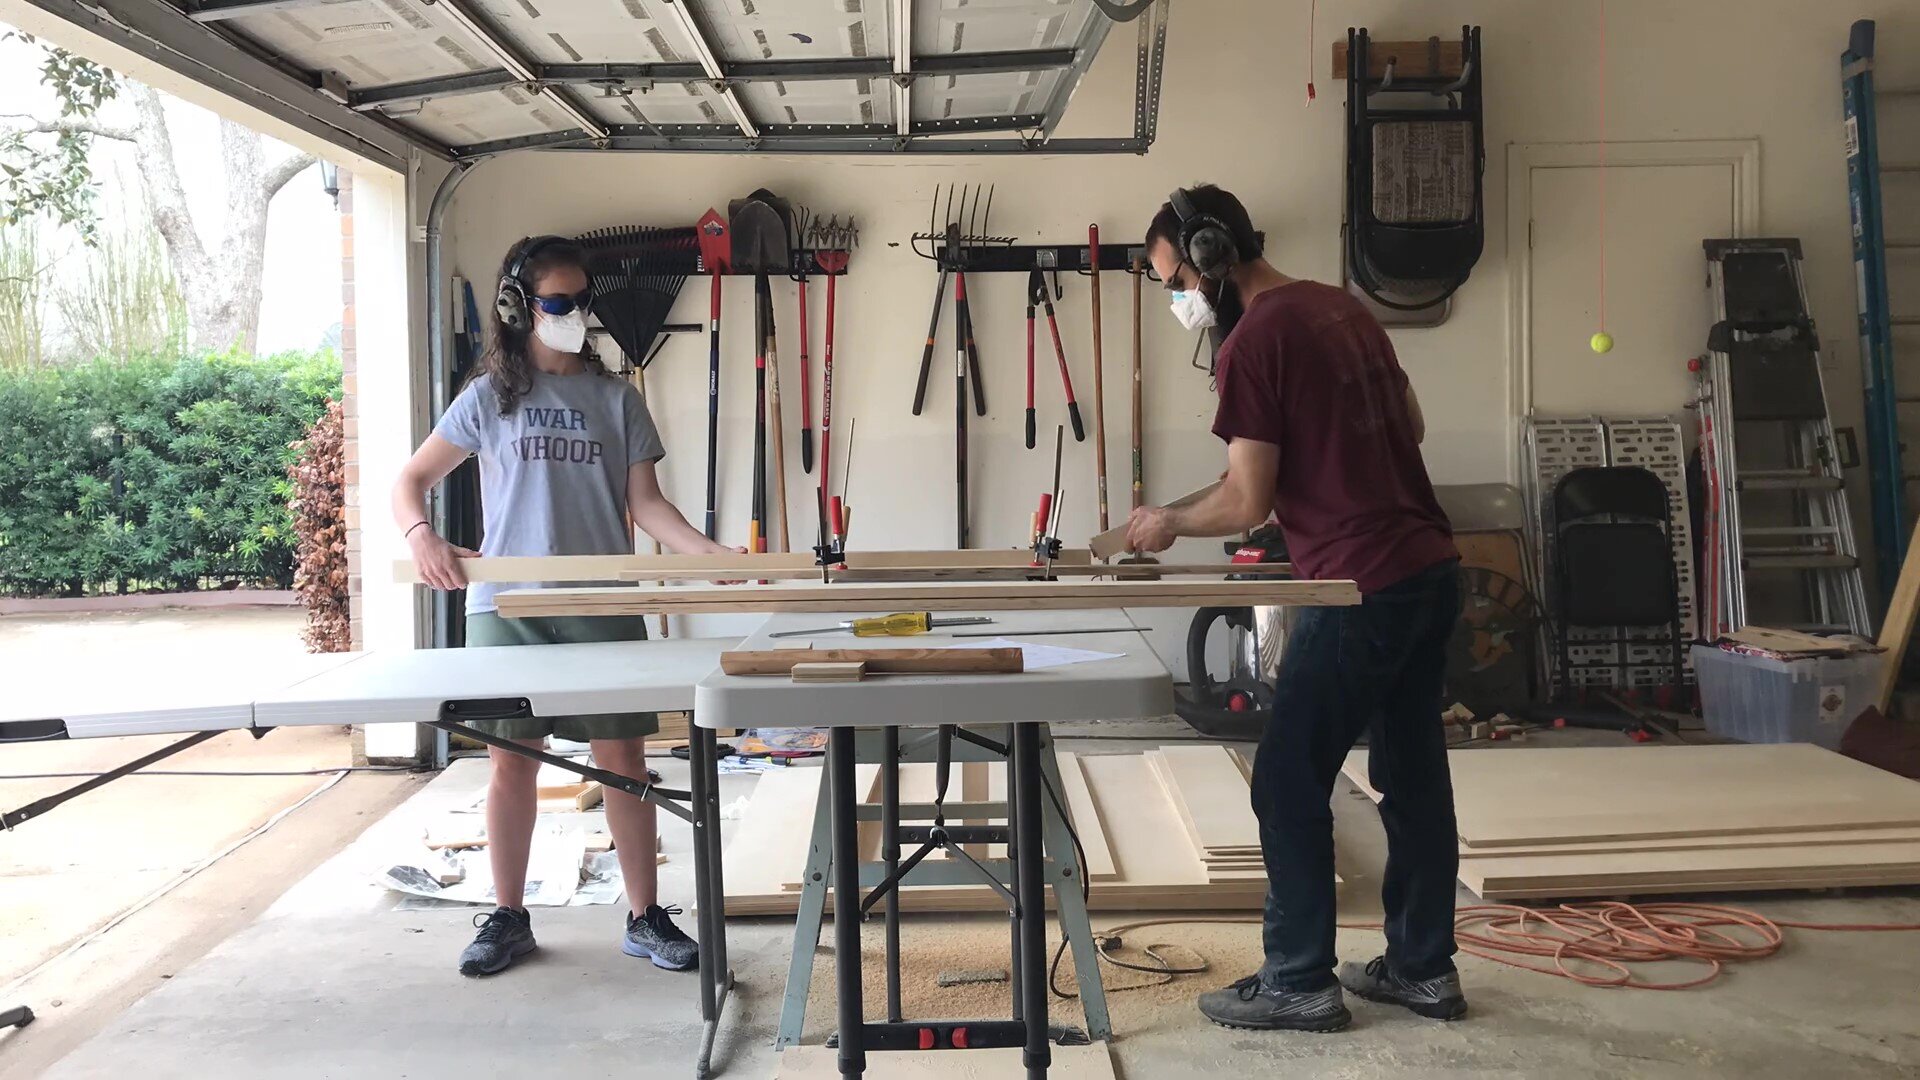
For months, Jared has had to work by himself on Pauline except for the few hours every Saturday when I can join him. We have both been looking forward to my spring break where I could pitch in so he doesn’t have to hold seven things in place while he drives a pocket screw and all the other insane things he manages to conquer by himself regularly.
You’ll remember that several months ago, before Leakpocalypse, we bought a pile of beautiful birch plywood from Clark’s Hardwood Lumber Co. If you are in the Houston area, we highly recommend this shop. Great, helpful employees and a beautiful selection of wood. And they actually sell to the public! Due in large part to Jared’s diligence, that pile of wood has survived our many water problems and it is finally time to start using it!
Just a reminder that everything you see us build in this post started out as a sheet of plywood. Jared is a magician.
The first step of the build-out is boxing in the wheelwells and the opening where we’ll eventually install the outdoor shower fixture.
All of these structures will be enclosed inside the cabinets, so it doesn’t REALLY matter how they look, but this was a good opportunity for us to practice the techniques we plan to use when building the cabinets, so they turned out kinda bougie.

This box covers up the opening where there’s a hatch to the exterior. It used to be where the battery was stored, but our batteries will go under the bed, so we’re going to use the exterior access to put in an outdoor shower!

Like I said, Jared is a magician. These will get painted to match the cabinets they’ll be enclosed in, but for now, they’re looking pretty good!
This would have been a pretty short post because I didn’t detail the hours of measuring, cutting, sanding, gluing, and assembling that went into these boxes. Unfortunately, we also experienced
Leakpocalypse 2: The Leakoning
After we spent all day Saturday cutting wood to start building the boxes, we had a nice big rainstorm on Sunday. This revealed so many leaks that for clarity, I’m going to make a numbered list:
A slow trickle of water was coming out above the wheelwell on the streetside. This was quickly traced back to a failure on our part to adequately seal up where the logo attached on the outside. We pulled back the wall panel, removed the insulation, and recaulked this spot. After we tested it with the hose, no leak! For good measure, we went back and removed the wall panels where all the remaining logos were and recaulked those spots as well. We didn’t find evidence of leaks on any of these, but it’s likely that they would have leaked eventually, so it was definitely worth the effort. The insulation was replaced and wall panels reattached. FIXED!
A larger stream of water was coming in on the left side of the door frame. It looks like a previous owner cut a notch where the door latches to allow it to latch easier, but it also allowed water to get in. No idea how this hasn’t leaked before. We are looking for a different latch plate to cover this hole, but in the meantime, there’s a piece of tape with caulk over it plugging the leak. TEMPORARILY FIXED!
There was about a 1/2 gallon of water on the floor in front of the curbside wheelwell. We caught it quickly and dried it out, so no lasting damage, but that was scary! There’s an external outlet that connects into the interior at that spot. Jared had removed the plug plate to replace the outlet box, but we didn’t realize that the plug plate also serves as a seal against water getting in. The plate has been reinstalled and caulked, and there’s no more leak! FIXED!
Remember that small leak over the front window that we thought we had finally sealed up?

This was probably the most frustrating of all the leaks because we were out of ideas for how to seal it up. Luckily, we had to go to Camping World for more caulk, so we went by the service department and asked if we could talk to one of the technicians. He was very kind and helped us troubleshoot the leak. It was reassuring for us that he confirmed we had reinstalled the windows correctly. He asked if any of the panels of the shell connected near where we found the leak. Yes, there are actually two seams in the external aluminum panels that connect there. His best guess is that water is getting into those seams somewhere higher up, then running down behind our seal and coming out above the window. We can fix this by resealing the seams. Jared has already ordered the materials, and when they come in, that will be next on our to-do list. POSSIBLE SOLUTION IDENTIFIED!
Initially, this felt like a disaster, but most of the leaks were really small. In a lot of ways, working on Pauline is a triage situation. We have addressed the big, awful leaks, so now the smaller, less catastrophic ones are becoming visible. We had more rain while the walls were open and we went over EVERYTHING as closely as we could to make sure there weren’t any other problems lurking and we didn’t see anything! I know that we’re getting better at this because in spite of all the leaks, we still got a lot of other work done this week! Here’s one more picture of our wheelwell boxes to get you excited for what’s coming:
