Airstream Remodel Episode 15: Building the Shower
I have been DREADING writing this post. The shower build was probably the most intimidating part of the entire renovation, at least for me. Building a shower in a moving structure has left me with nightmares of waking to find a pile of cracked grout and broken tiles in the floor. However, my research has shown that it IS POSSIBLE to successfully build a beautiful, tiled shower in an Airstream. For example:
I also know that there are hundreds of people ready to tell me that I did it wrong. And they may have a point. So, with absolutely no claims of expertise, here is the process of how we built our shower.
Structure

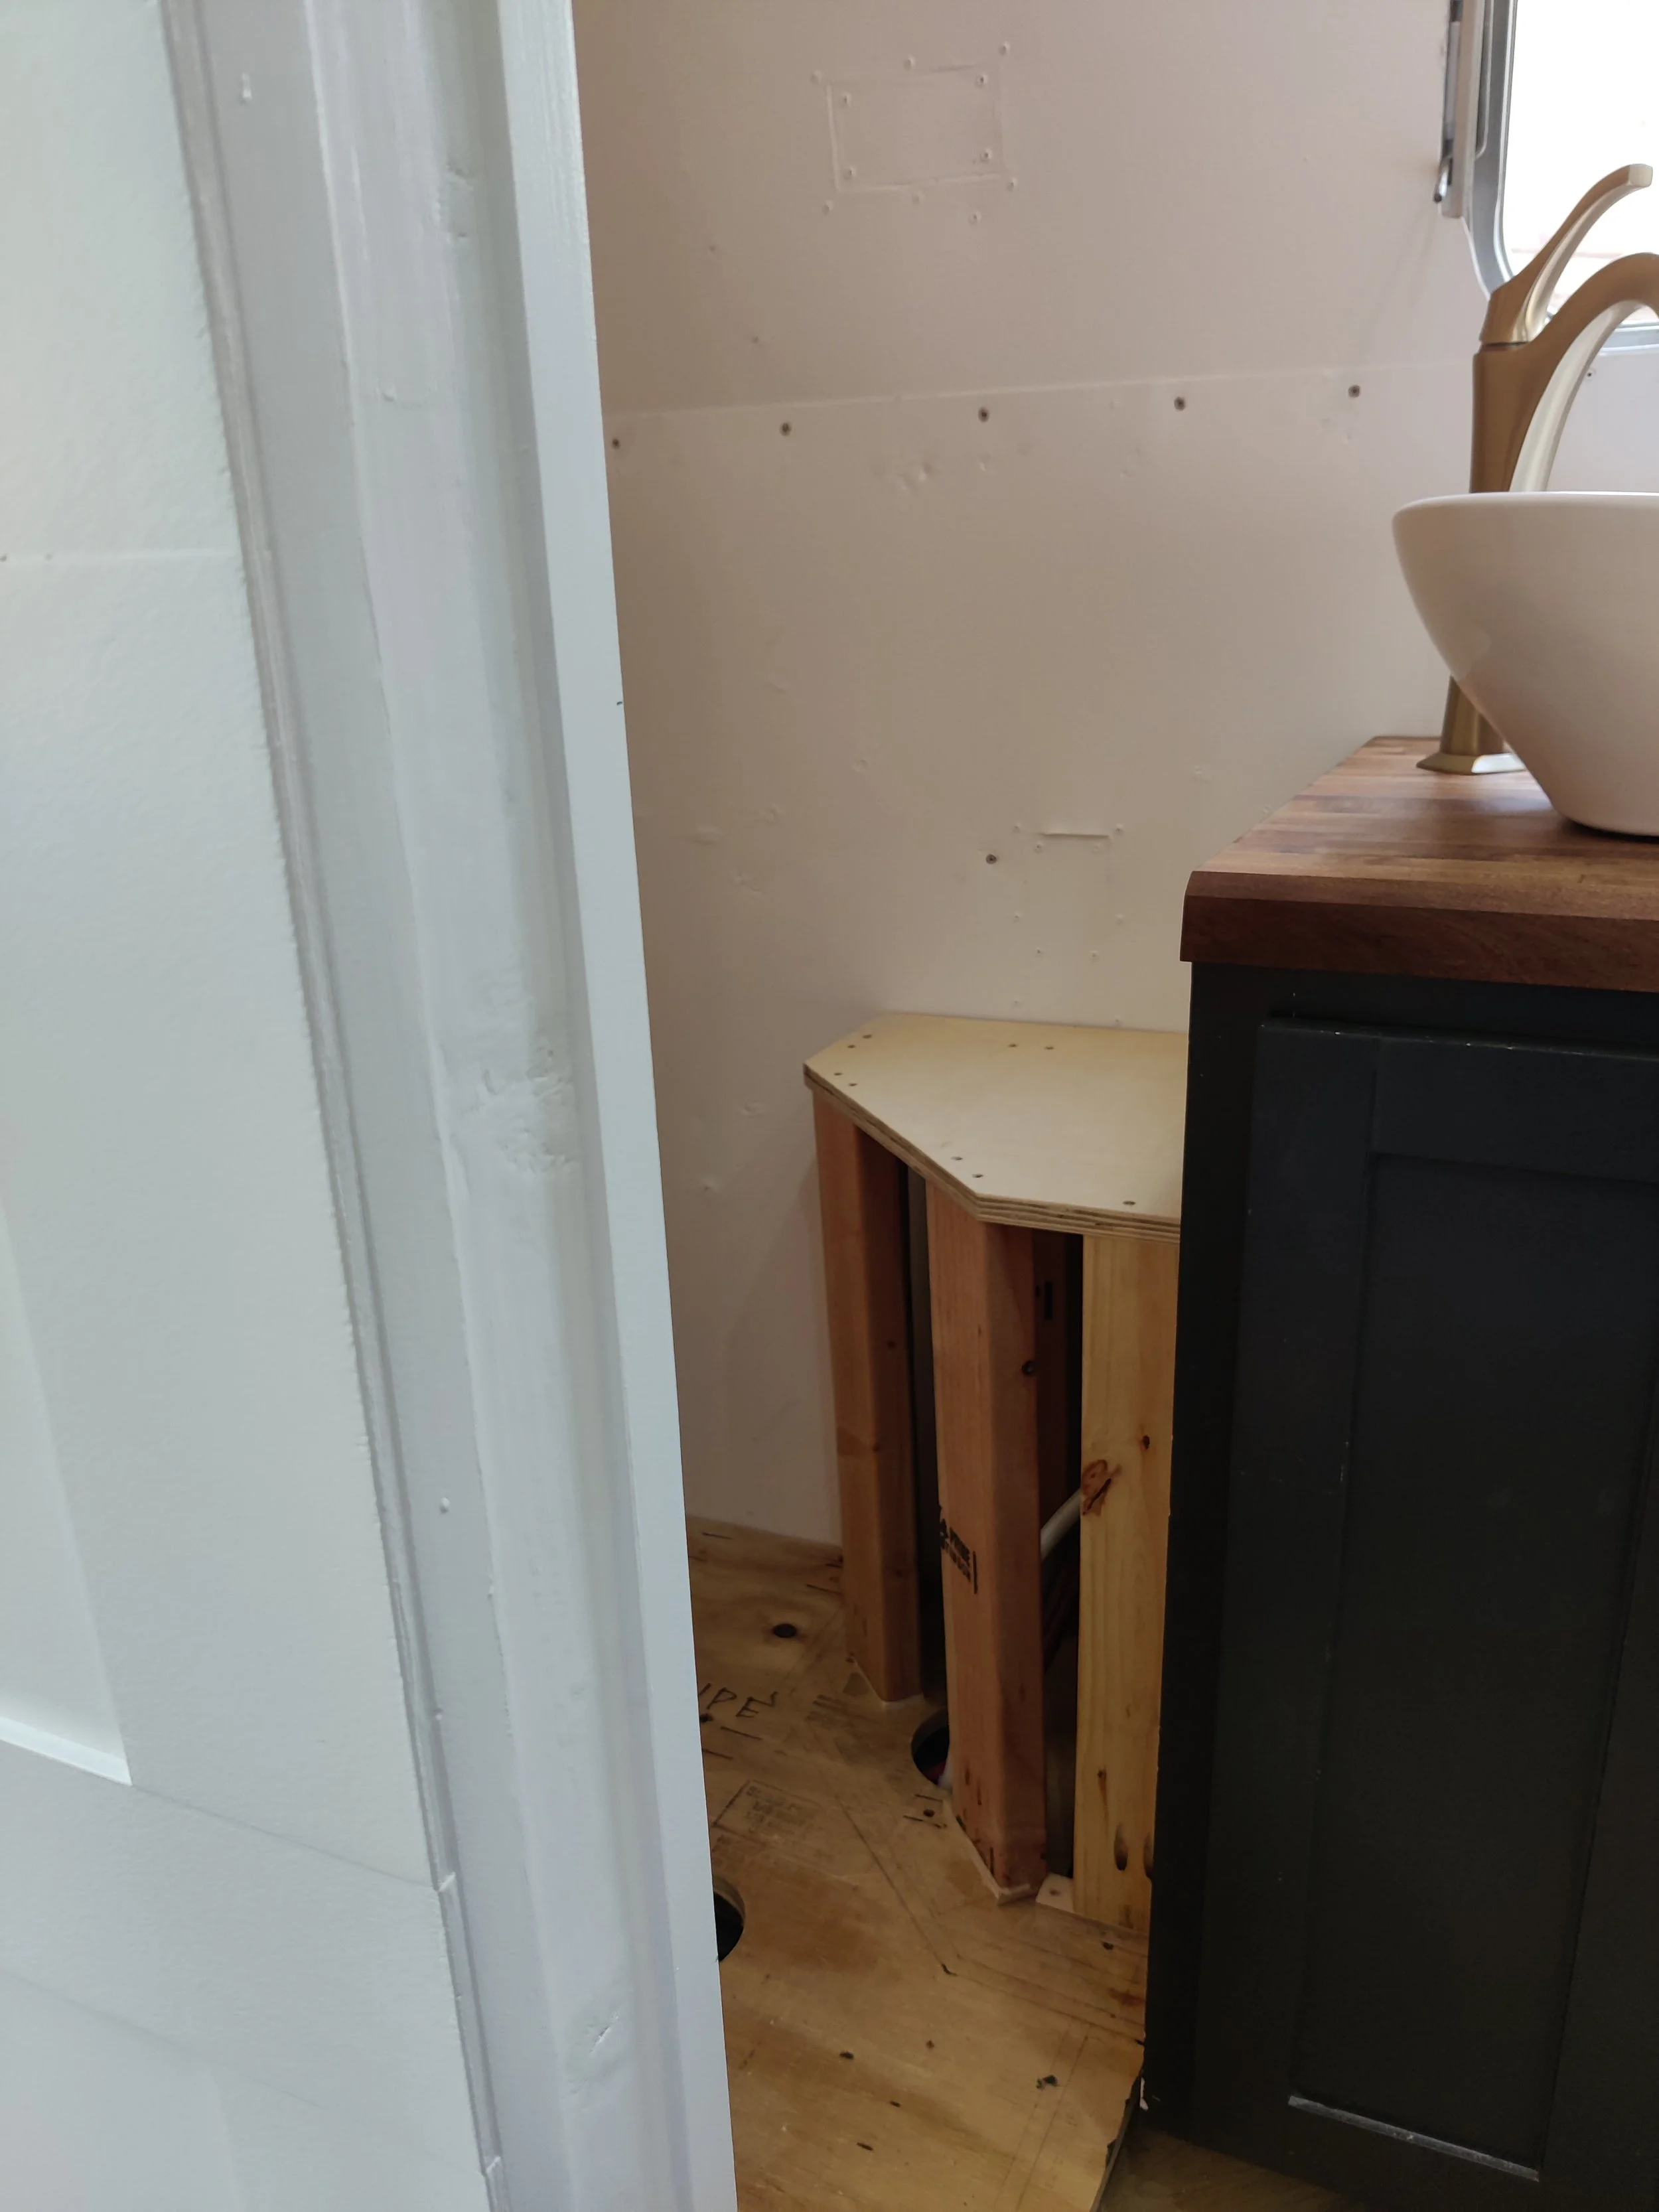
Jared framed the structure of the shower as we were framing the rest of the bathroom. He had to build up the base to make room for the drain since there isn’t any clearance under our subfloor before you hit the grey tanks. This also allowed us to run electrical and plumbing underneath the shower floor. Jared also framed out a small seat in the back corner of the shower to enclose the end of the wheel well. This left us with a 2’x3’ shower with a baseball base shaped seat cut out of one corner. The headspace is not generous, but fortunately neither of us is especially tall. We also roughed in the plumbing at this stage.
Waterproofing


We used the Wedi Fundo Primo Shower Kit to create a waterproof shell for the shower. This kit was extremely easy to use, although we had to adapt several elements, like the floor pan, to fit the odd shape of our shower. We also had to get creative on the curved exterior wall. The stiff Wedi board gave us a great structure, but it was not going to curve into that exterior wall. We used FRP board for this part of the structure and married it into the Wedi using the Wedi sealant. Once all the sealant was dry, the shower was officially waterproof! We ran several leak tests while everything was still exposed to be sure.
Tile


For the shower floor, I felt comfortable using real tile, since it would not be tested by gravity and Murphy’s law as strongly as the wall tile. Following the conventional method, we used thinset to place the floor tile. This is one regret I have. Leveling the thinset and spreading it evenly in the confined space of a less than 2’x3’ shower floor (with a seat cut-out!) was next to impossible. If I had it to do over, I would use the construction adhesive to secure the floor tile as well as the wall tile. Live and learn.


While I had read several accounts of people successfully installing real tile throughout their entire Airstream shower, I was nervous about the idea of suspending tile overhead in a moving structure, and I wanted to run the tile all the way up the curve. Enter PVC tiles. This is definitely an off-label application for these tiles, but to be frank, using anything in an Airstream is an off-label use. We used Gorilla Glue Construction Adhesive to individually adhere each tile to the Wedi/FRP board, which should give a much stronger hold than the traditional thin-set. The lighter weight and flexibility of the PVC will also help the shower to remain intact while in motion.


Grouting
Somehow, I did not anticipate the hazards of grouting over my head until a giant clump landed directly on my face. Fortunately, Jared quickly acquired a shower cap and some safety goggles, once again proving that he is the methodical one and I am unencumbered by self-doubt. The white grout helped tie the different tiles together and cut down on some of the visual clutter in such a small space. We used flexible grout to allow the shower to flex without cracking.
Plexiglass Wall


To allow as much light as possible into the shower without soaking everything else, we used a plexiglass wall as a divider. Despite having cut countless curves in the building of the cabinets, closet, pantry, etc. we were pretty nervous to apply this skill to plexiglass. Once we had achieved the correct shape, we used these brackets secured by these fasteners to attach it to the vanity counter and these brackets to secure it to the ceiling and wall. A little caulk and trim covered up the raw edges and waterproofed around the plexiglass wall.
Fixtures

Last but not least, we installed the shower fixtures. We went with the Delta In2ition Shower Head because of it’s low flow-rate and streamlined design, with the integrated handheld head. Plus it’s pretty.
Before and After


