Airstream Remodel Episode 13: Long time, no see…
Well, this is embarrassing.
It’s been nearly a year since I’ve posted an update to the blog. I’ve done slightly better about keeping up with the vlog, but ever since Jared got a full-time job again, our plates have been so full that I needed to prioritize getting the work done over documenting the work being done. But, in an effort to uphold my initial goal of providing a guide for anyone crazy enough to follow in our footsteps and attempt an airstream renovation themselves, I’m going to try to make a few posts to catch you up on what we’ve done.
Finishing the Cabinets
Once all the cabinet boxes had been built, Jared built all the cabinet doors and drawers. We went with a shaker style, which had a 3/4 inch border and a 1/4 inch inlay.

We used this guide for our drawers. Once everything was built, it was time to paint. Fortunately, we are blessed with the best friends in the world who came to help us paint EVERYTHING. Elizabeth and Levi, we could not have done it without you.

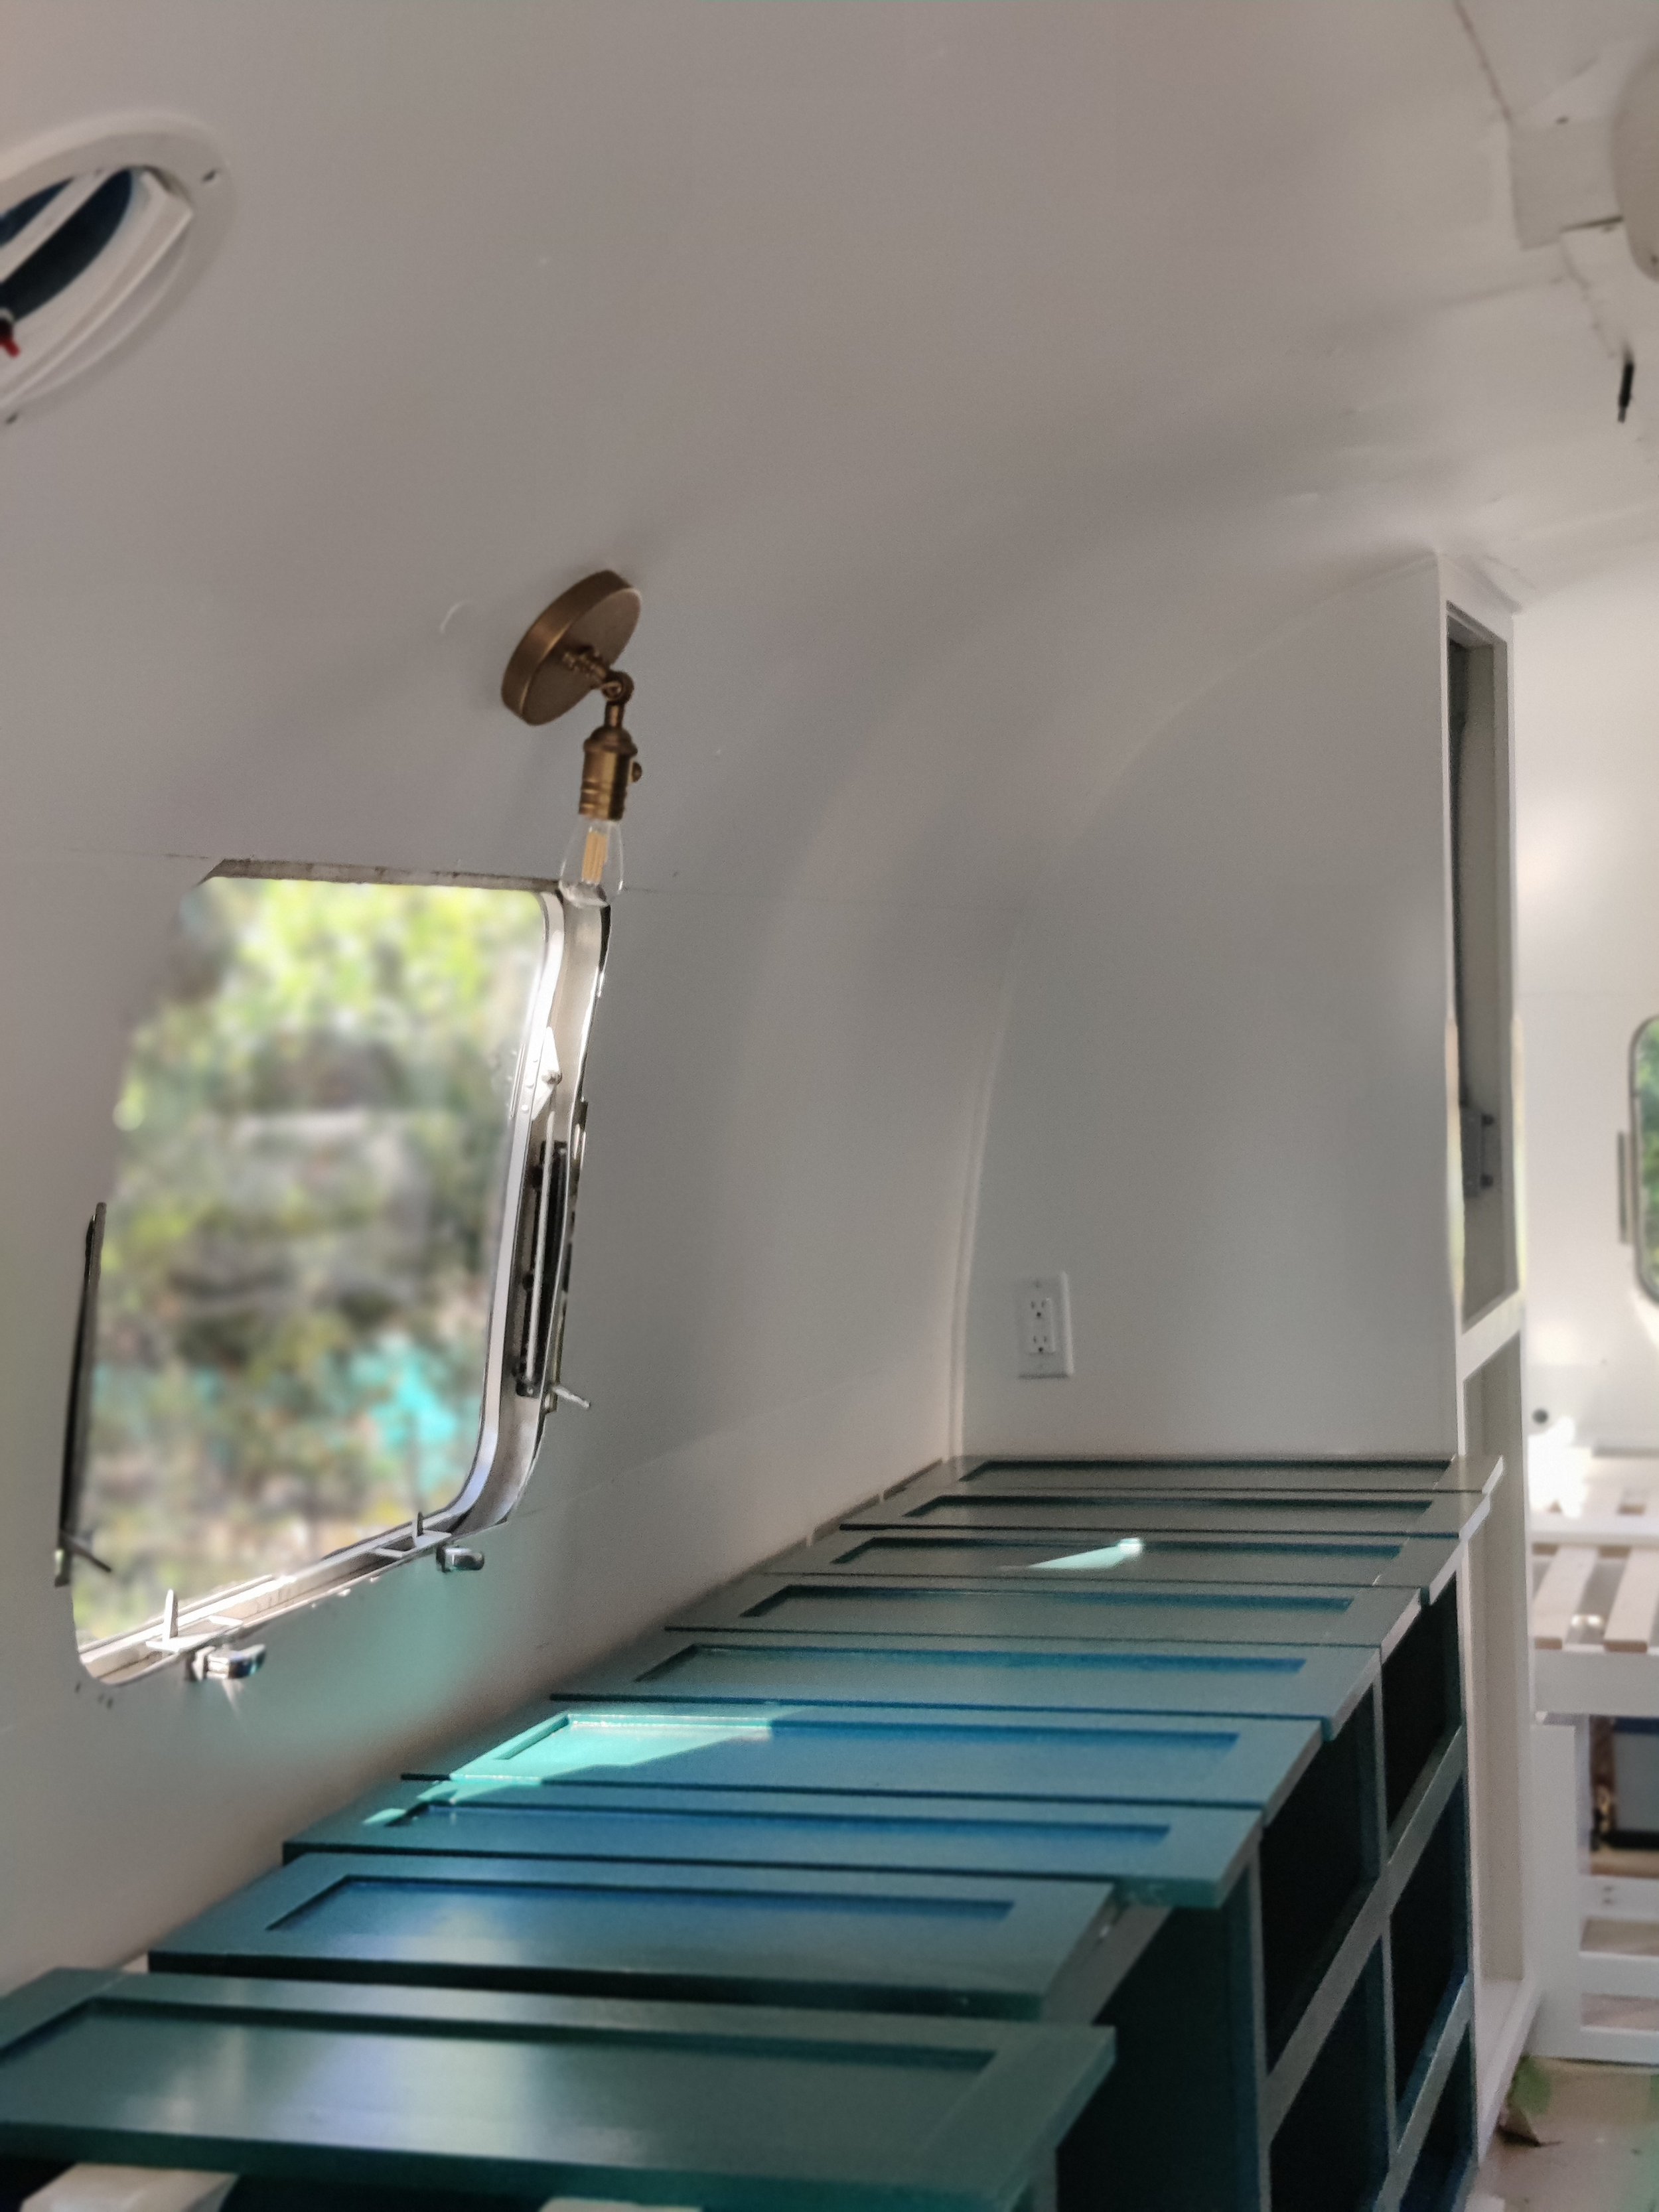

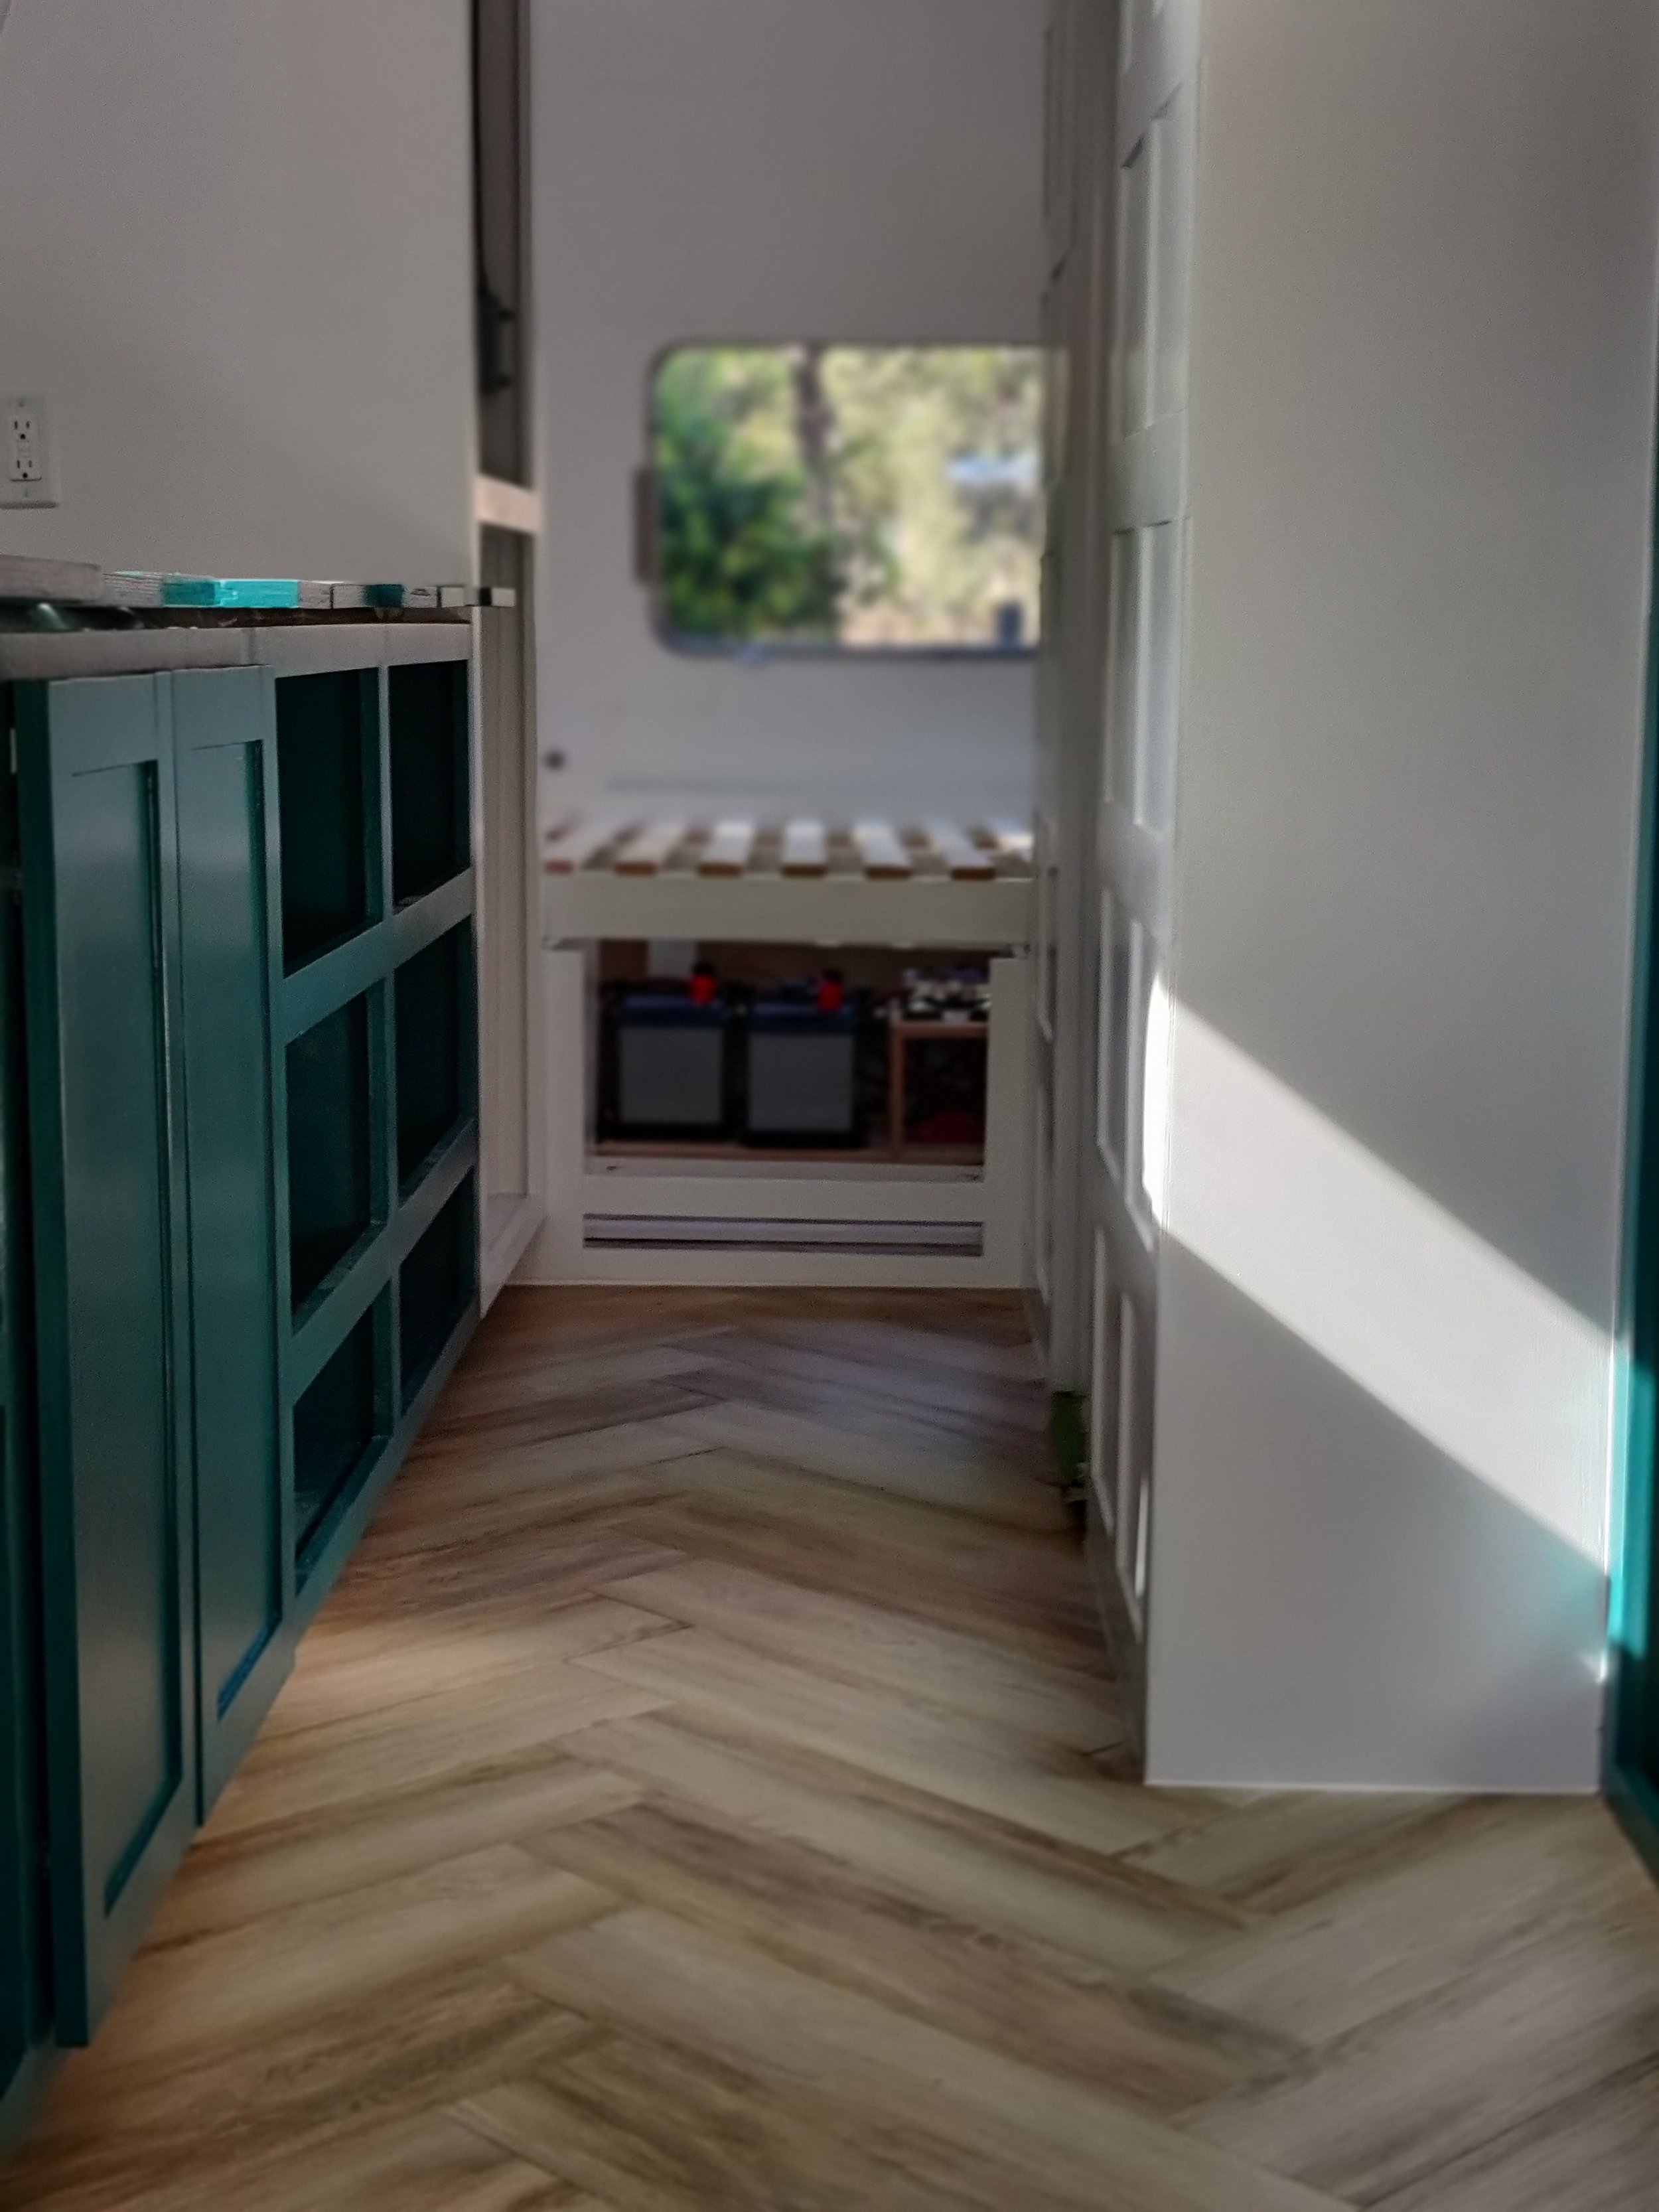
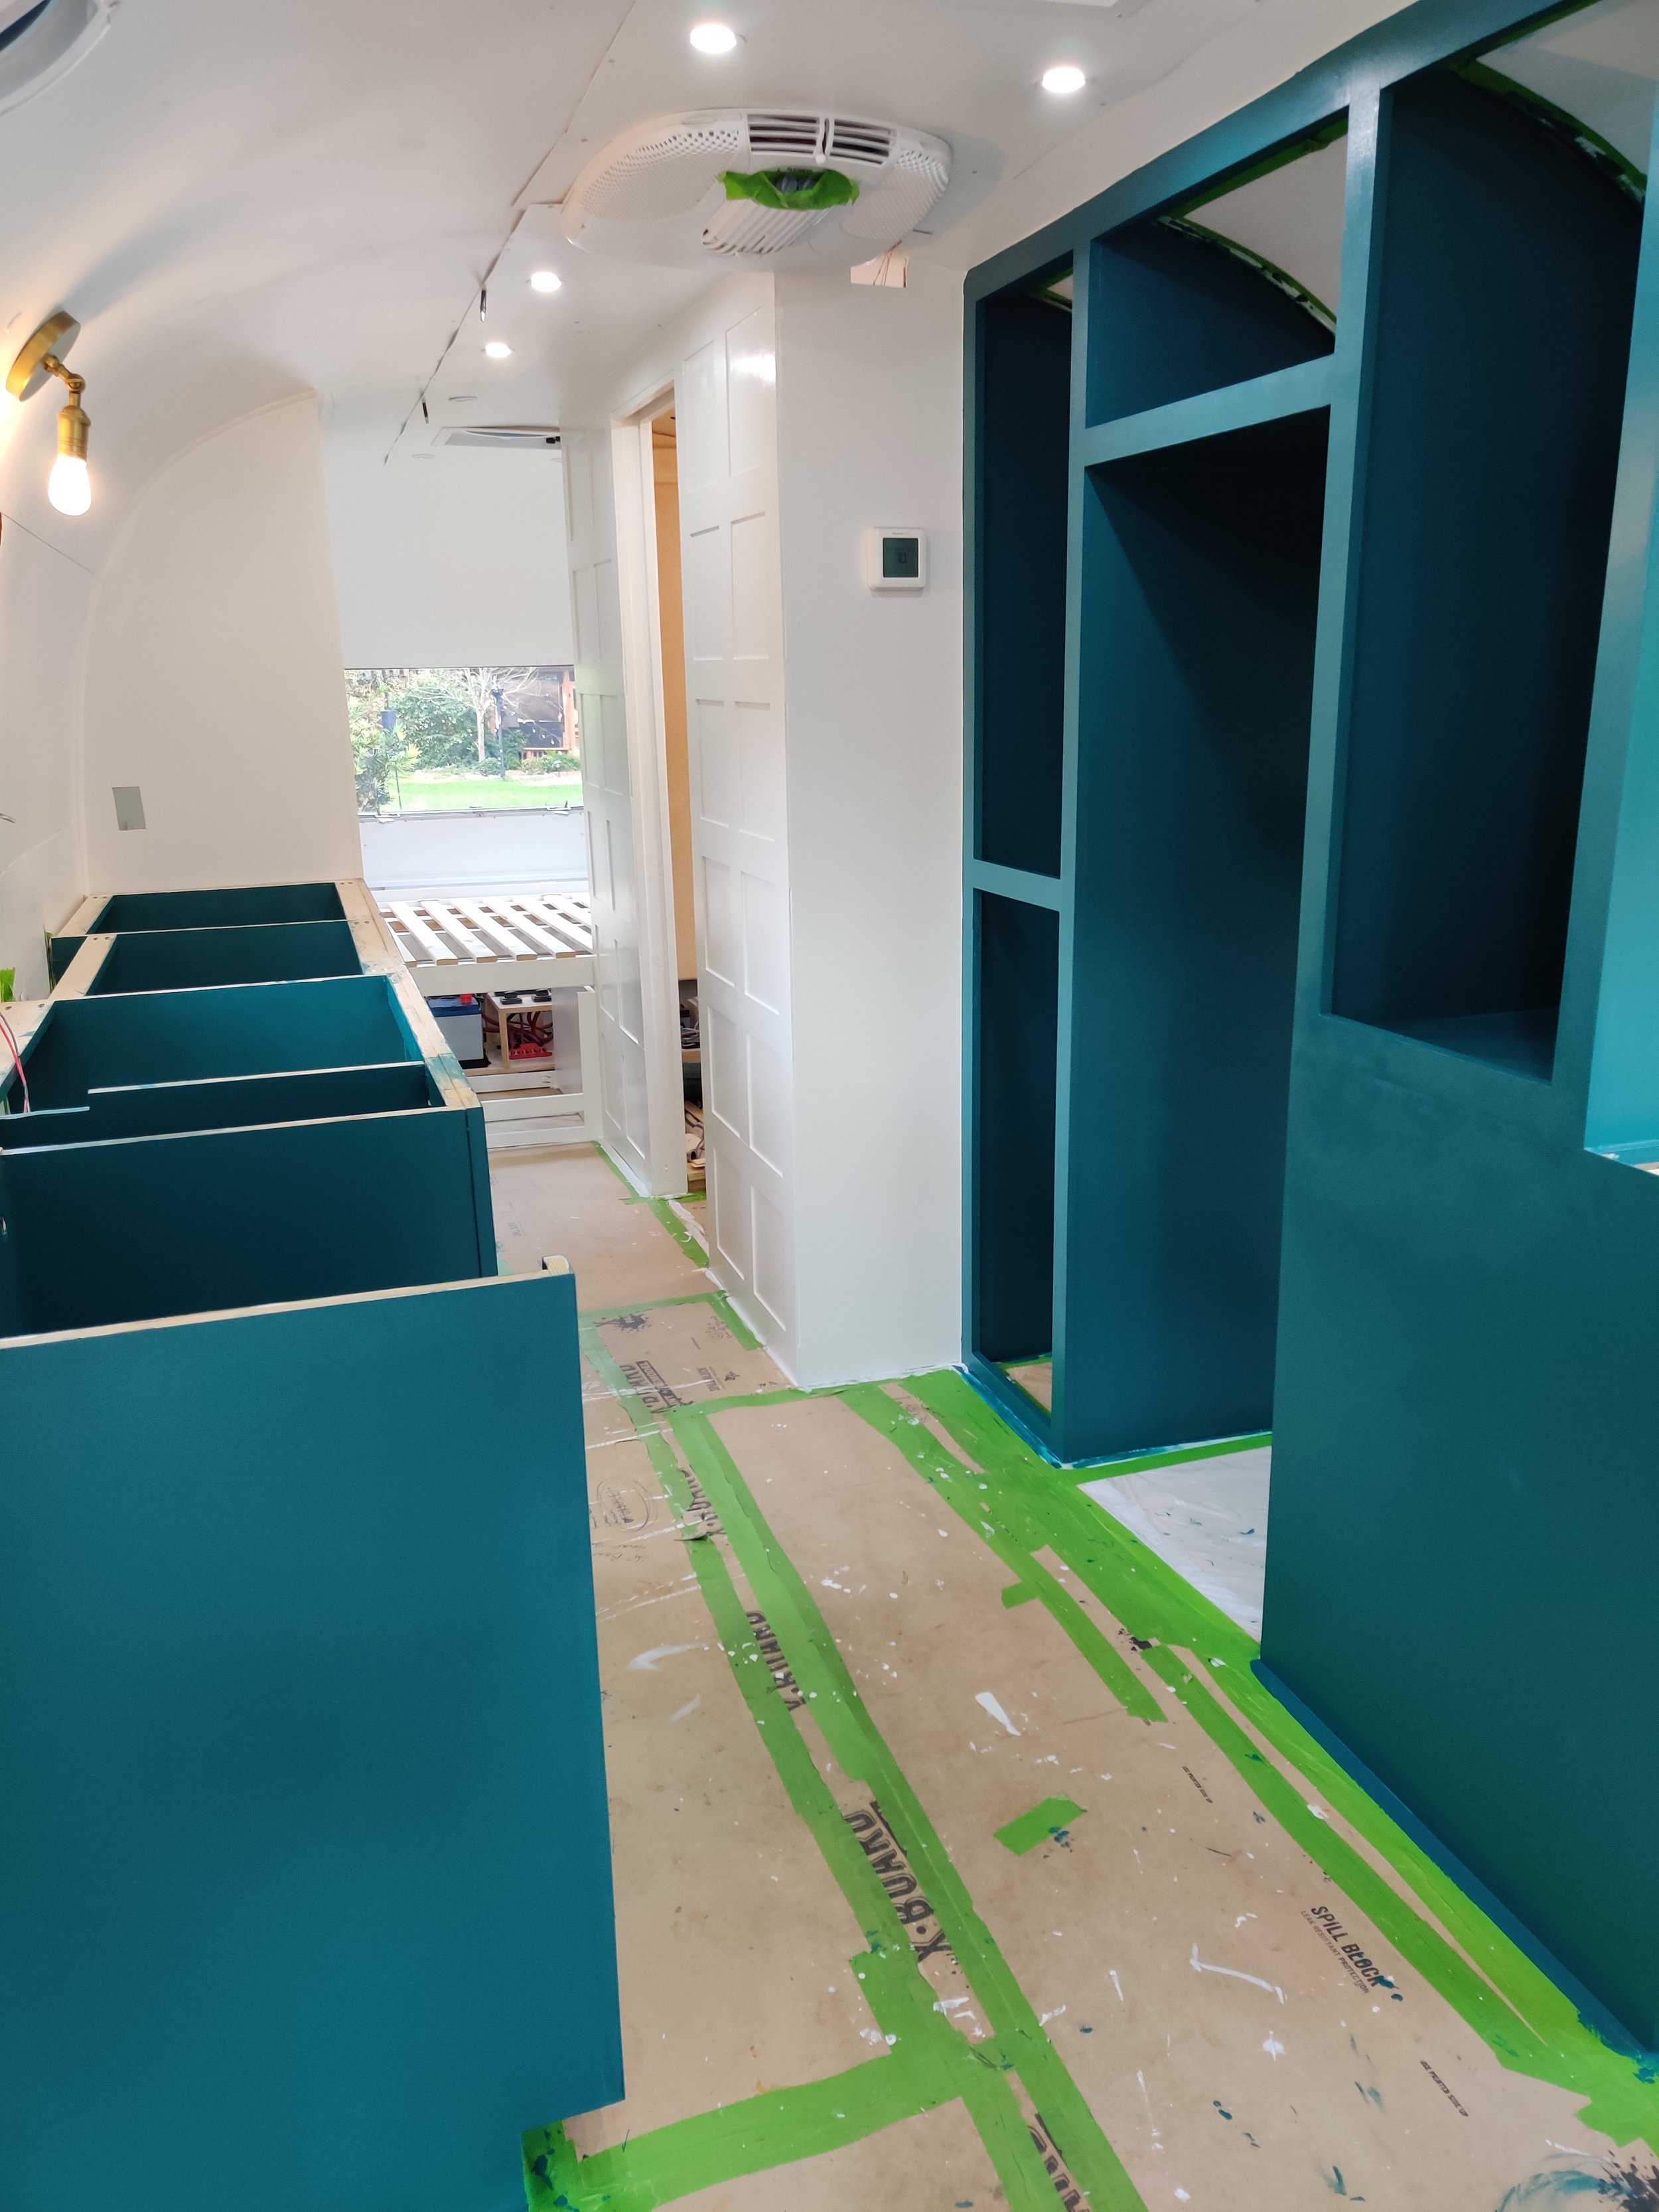
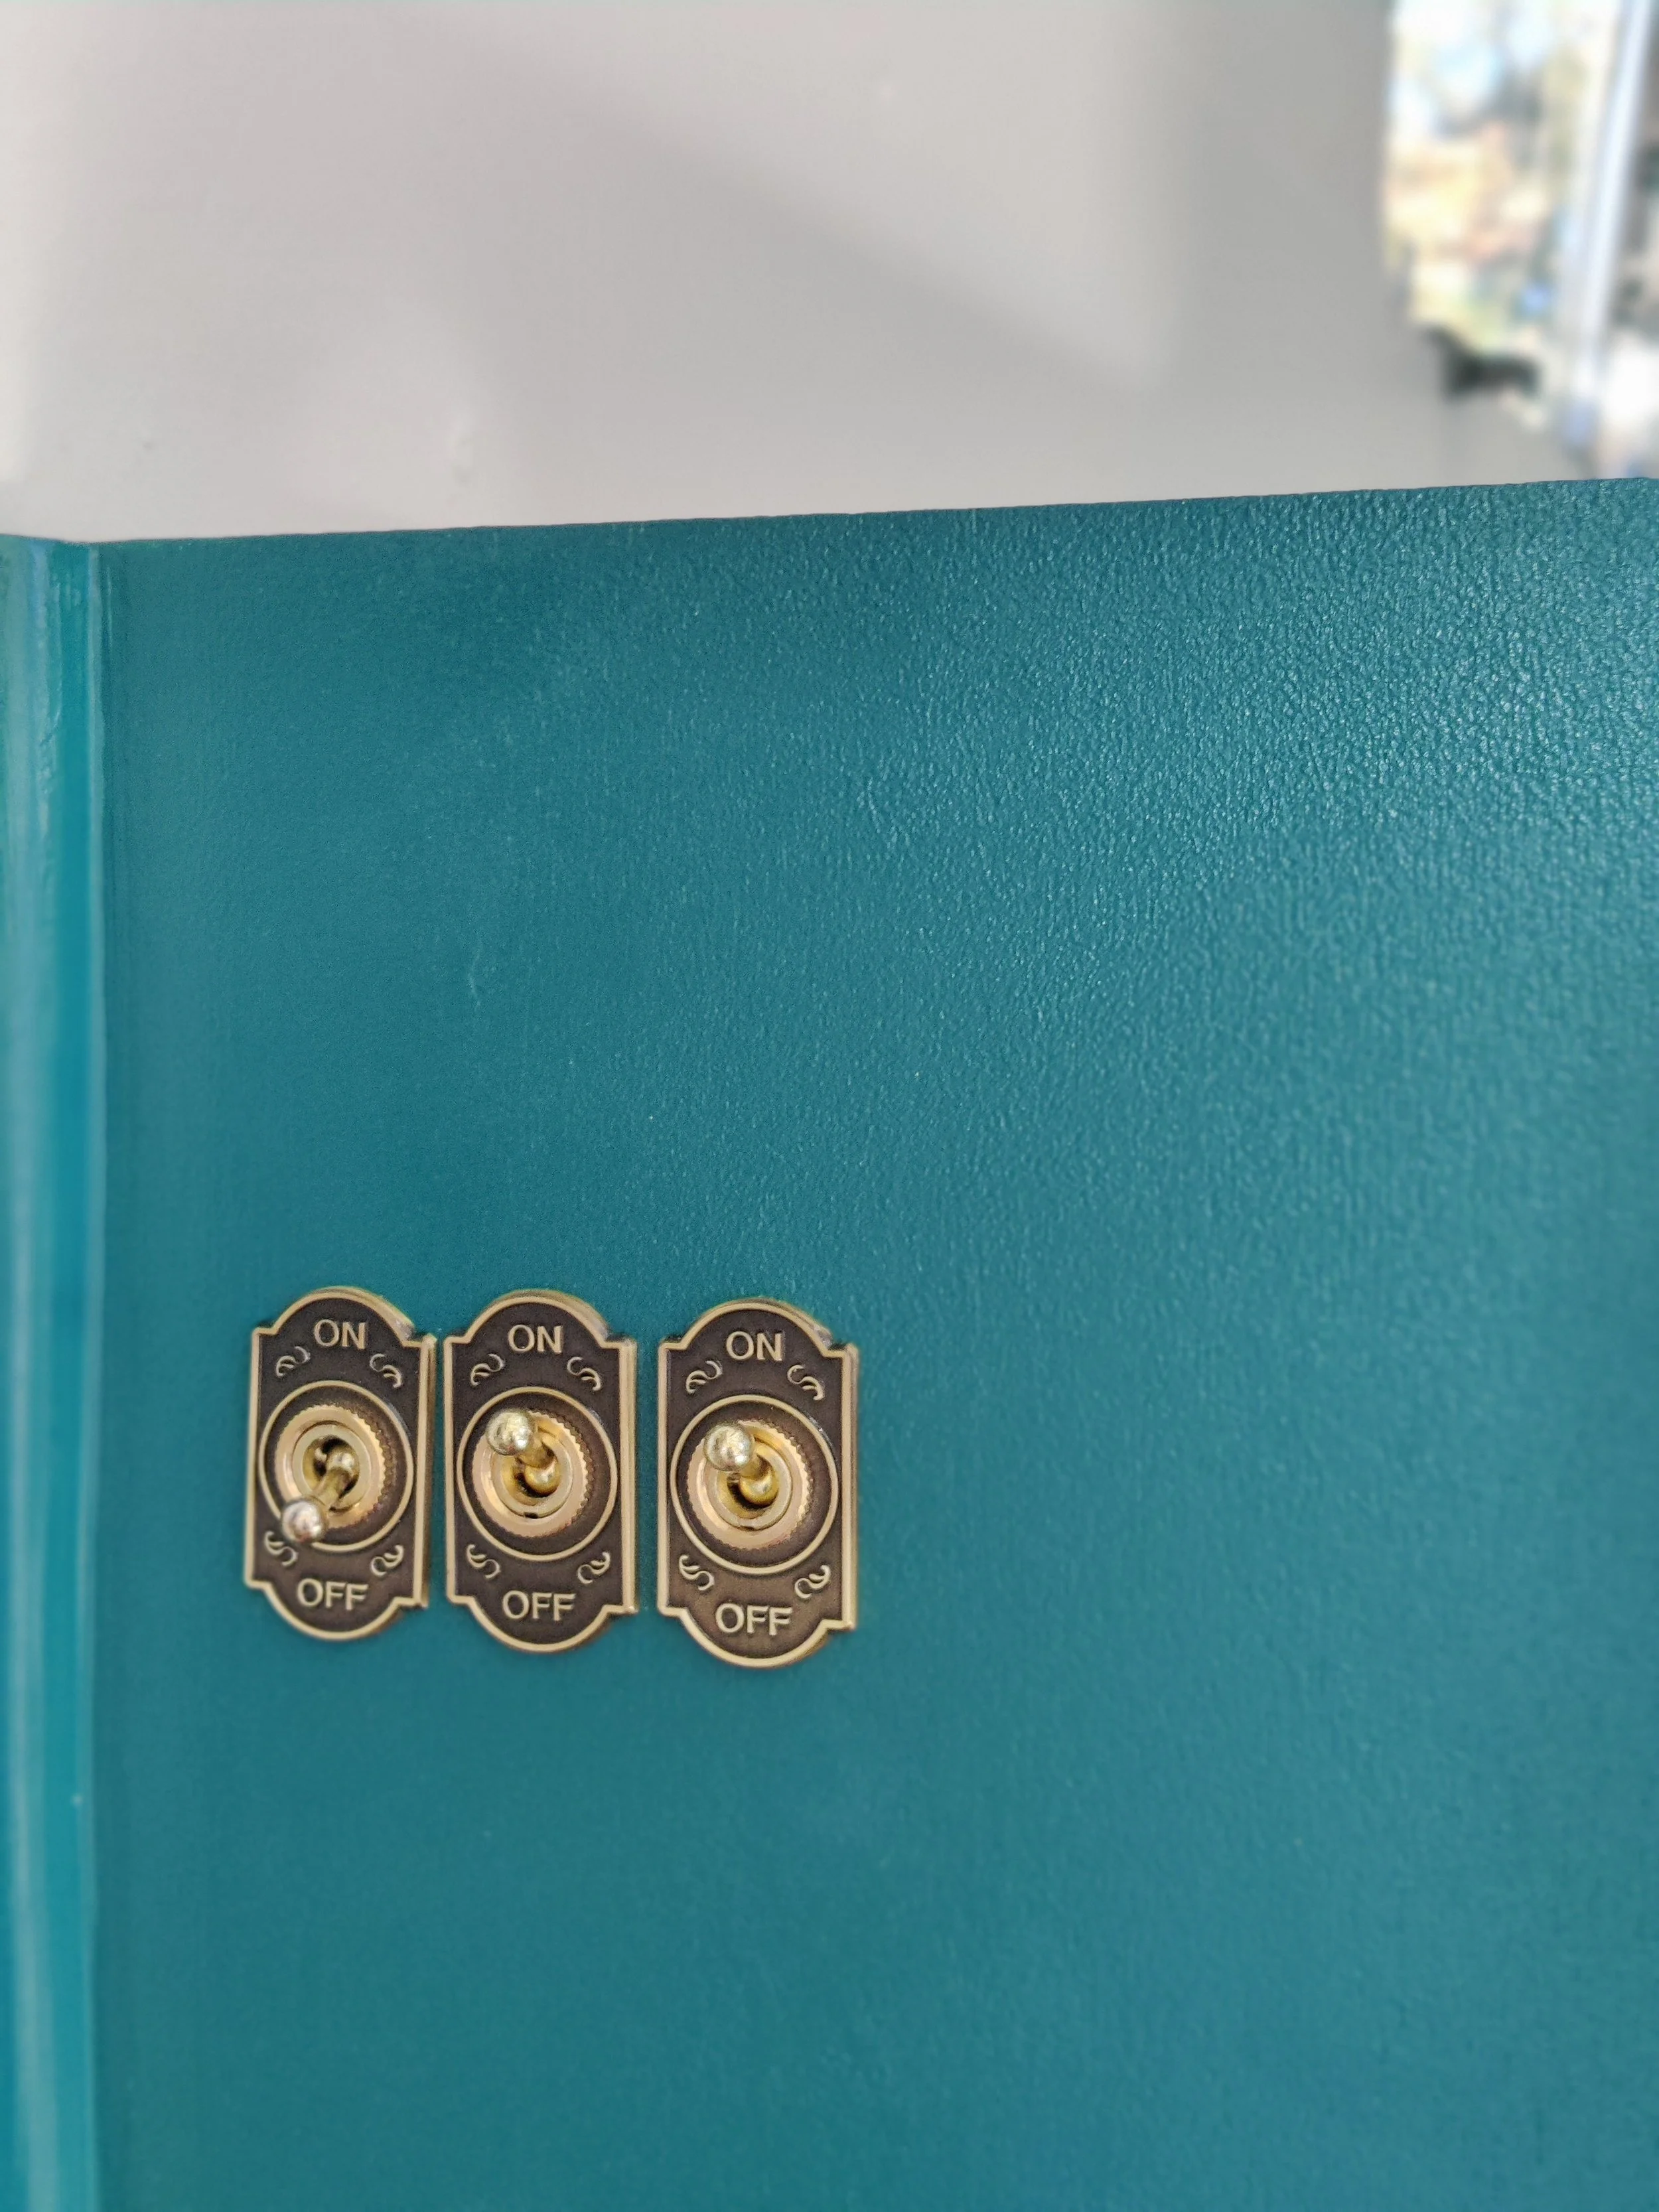
The closet and bathroom are Benjamin Moore White in semi-gloss. The cabinets are Magnolia Homes Water Garden in semi-gloss.
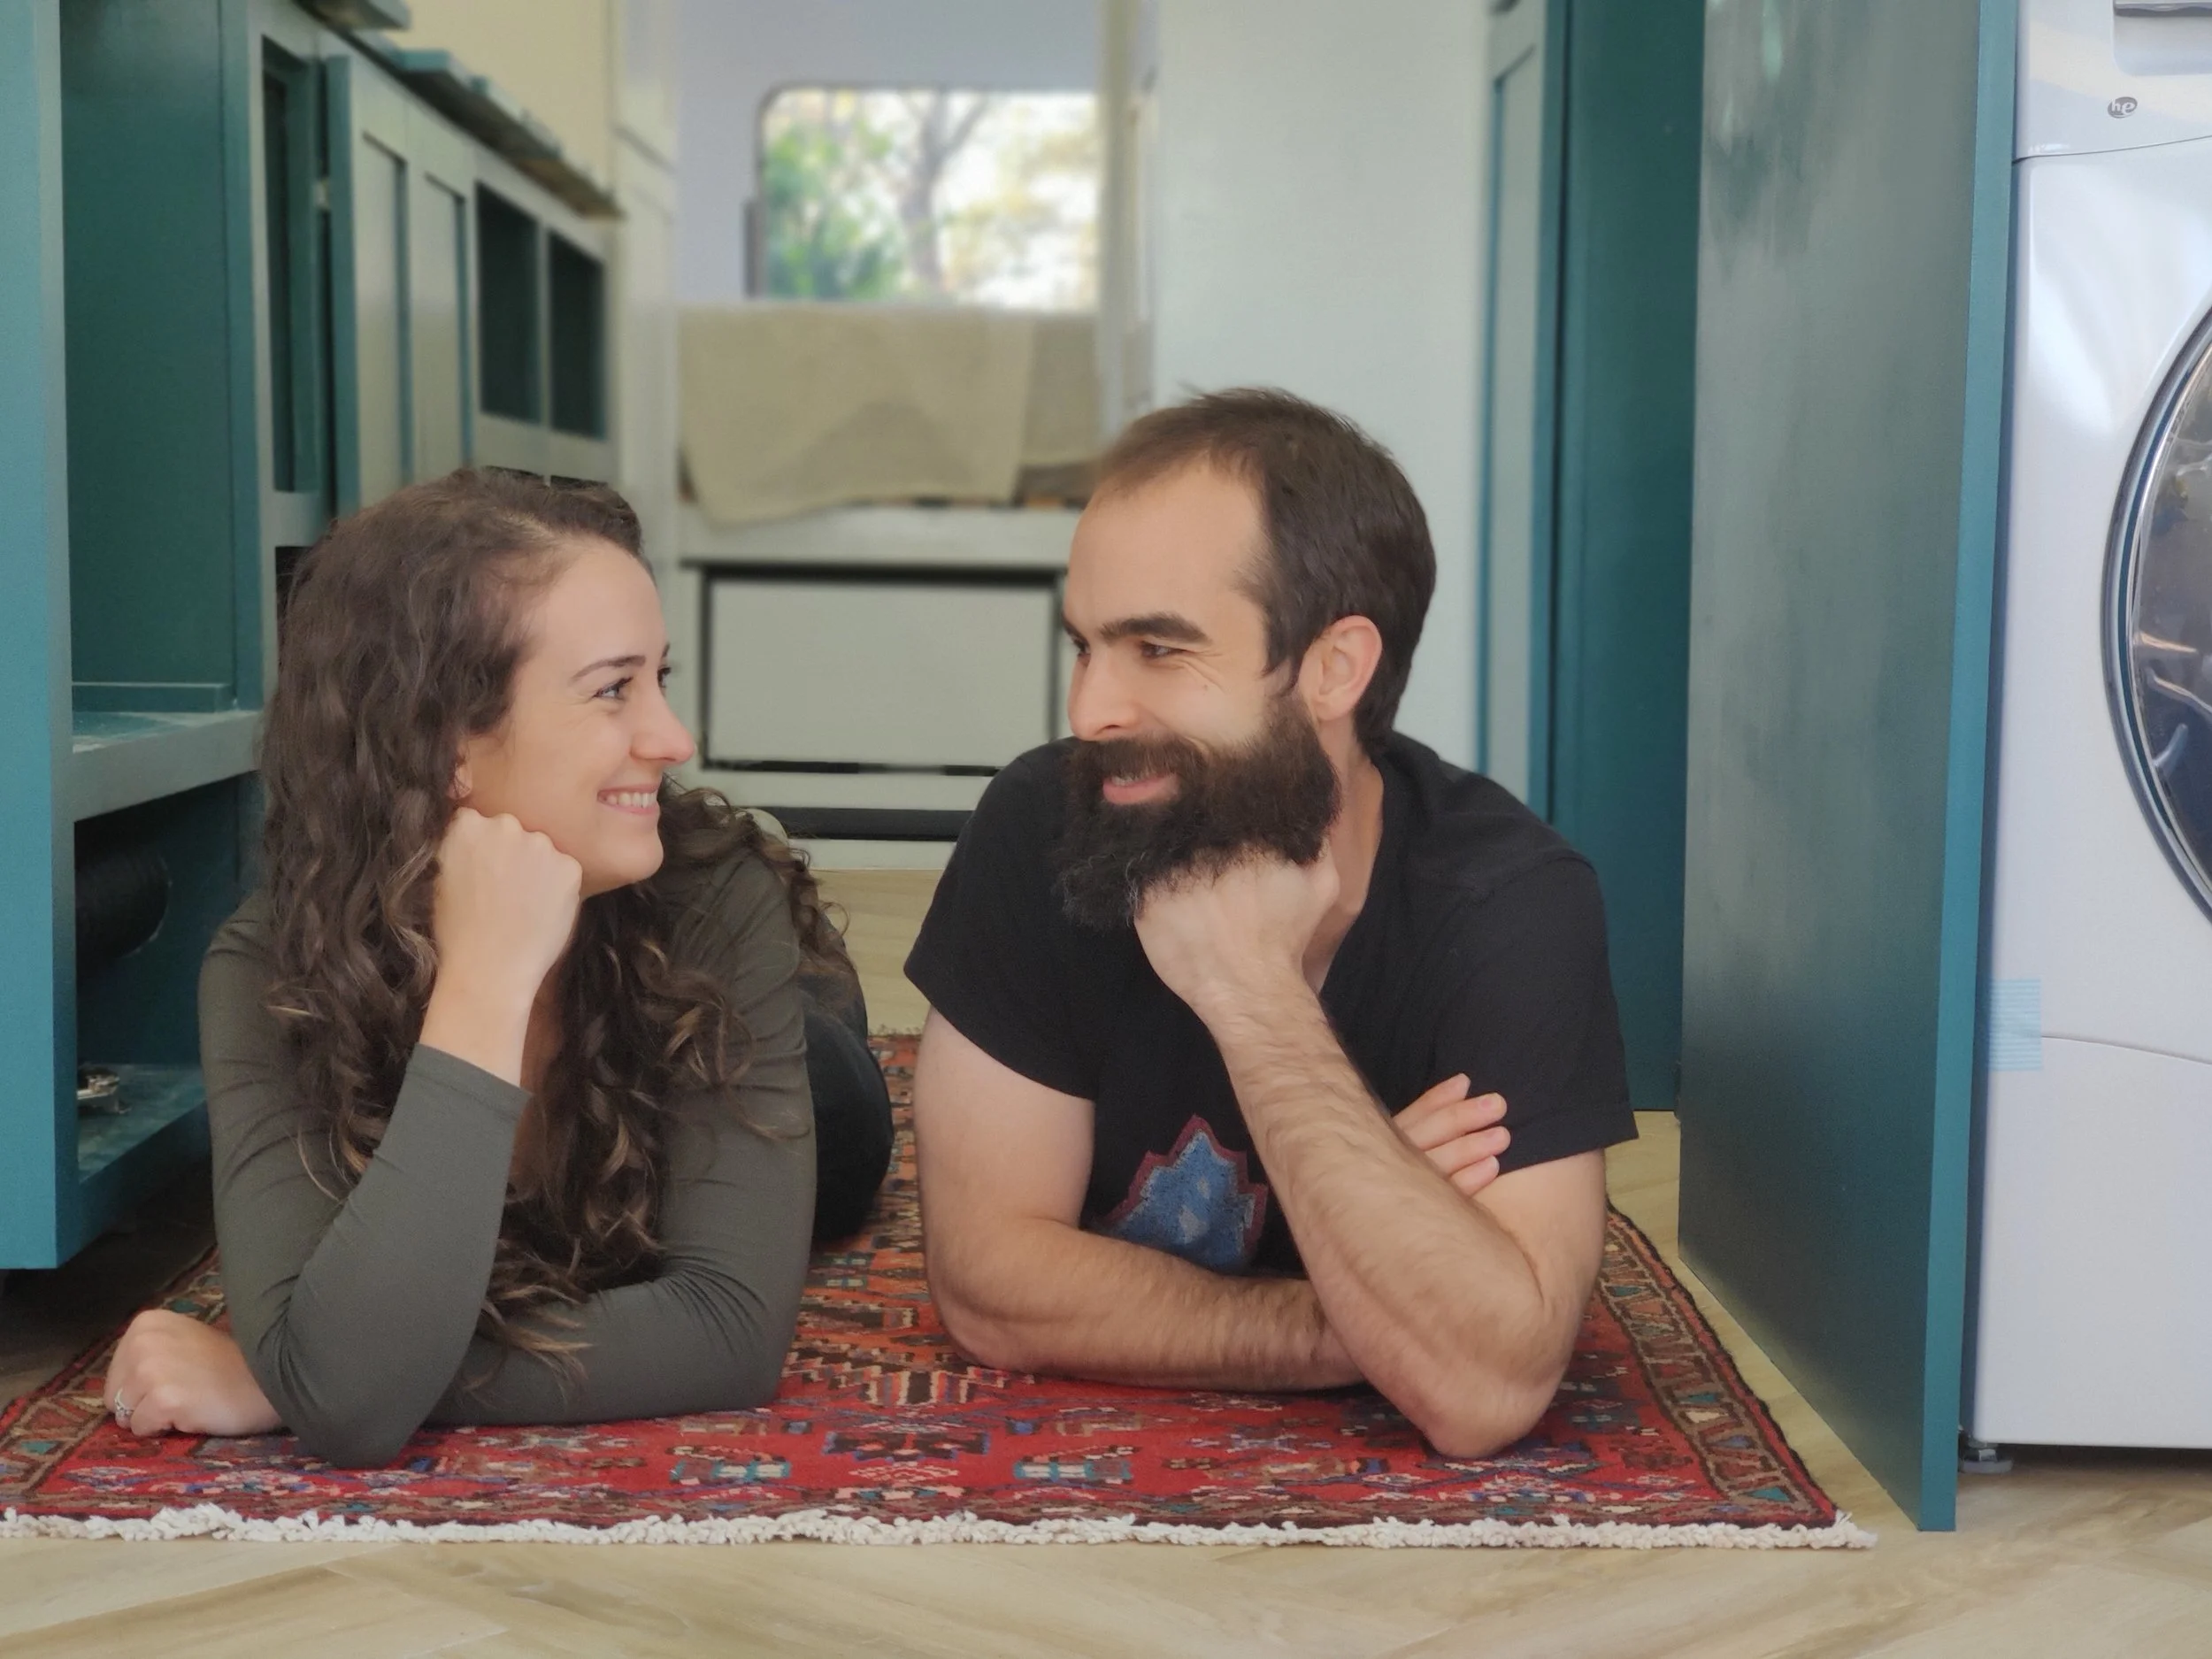
Finally getting some color in Pauline made it feel like the project was coming to life. We had turned the corner. She wasn’t just regaining her function. Pauline was getting pretty. Check out this vlog to see the transformation unfold.

Countertops
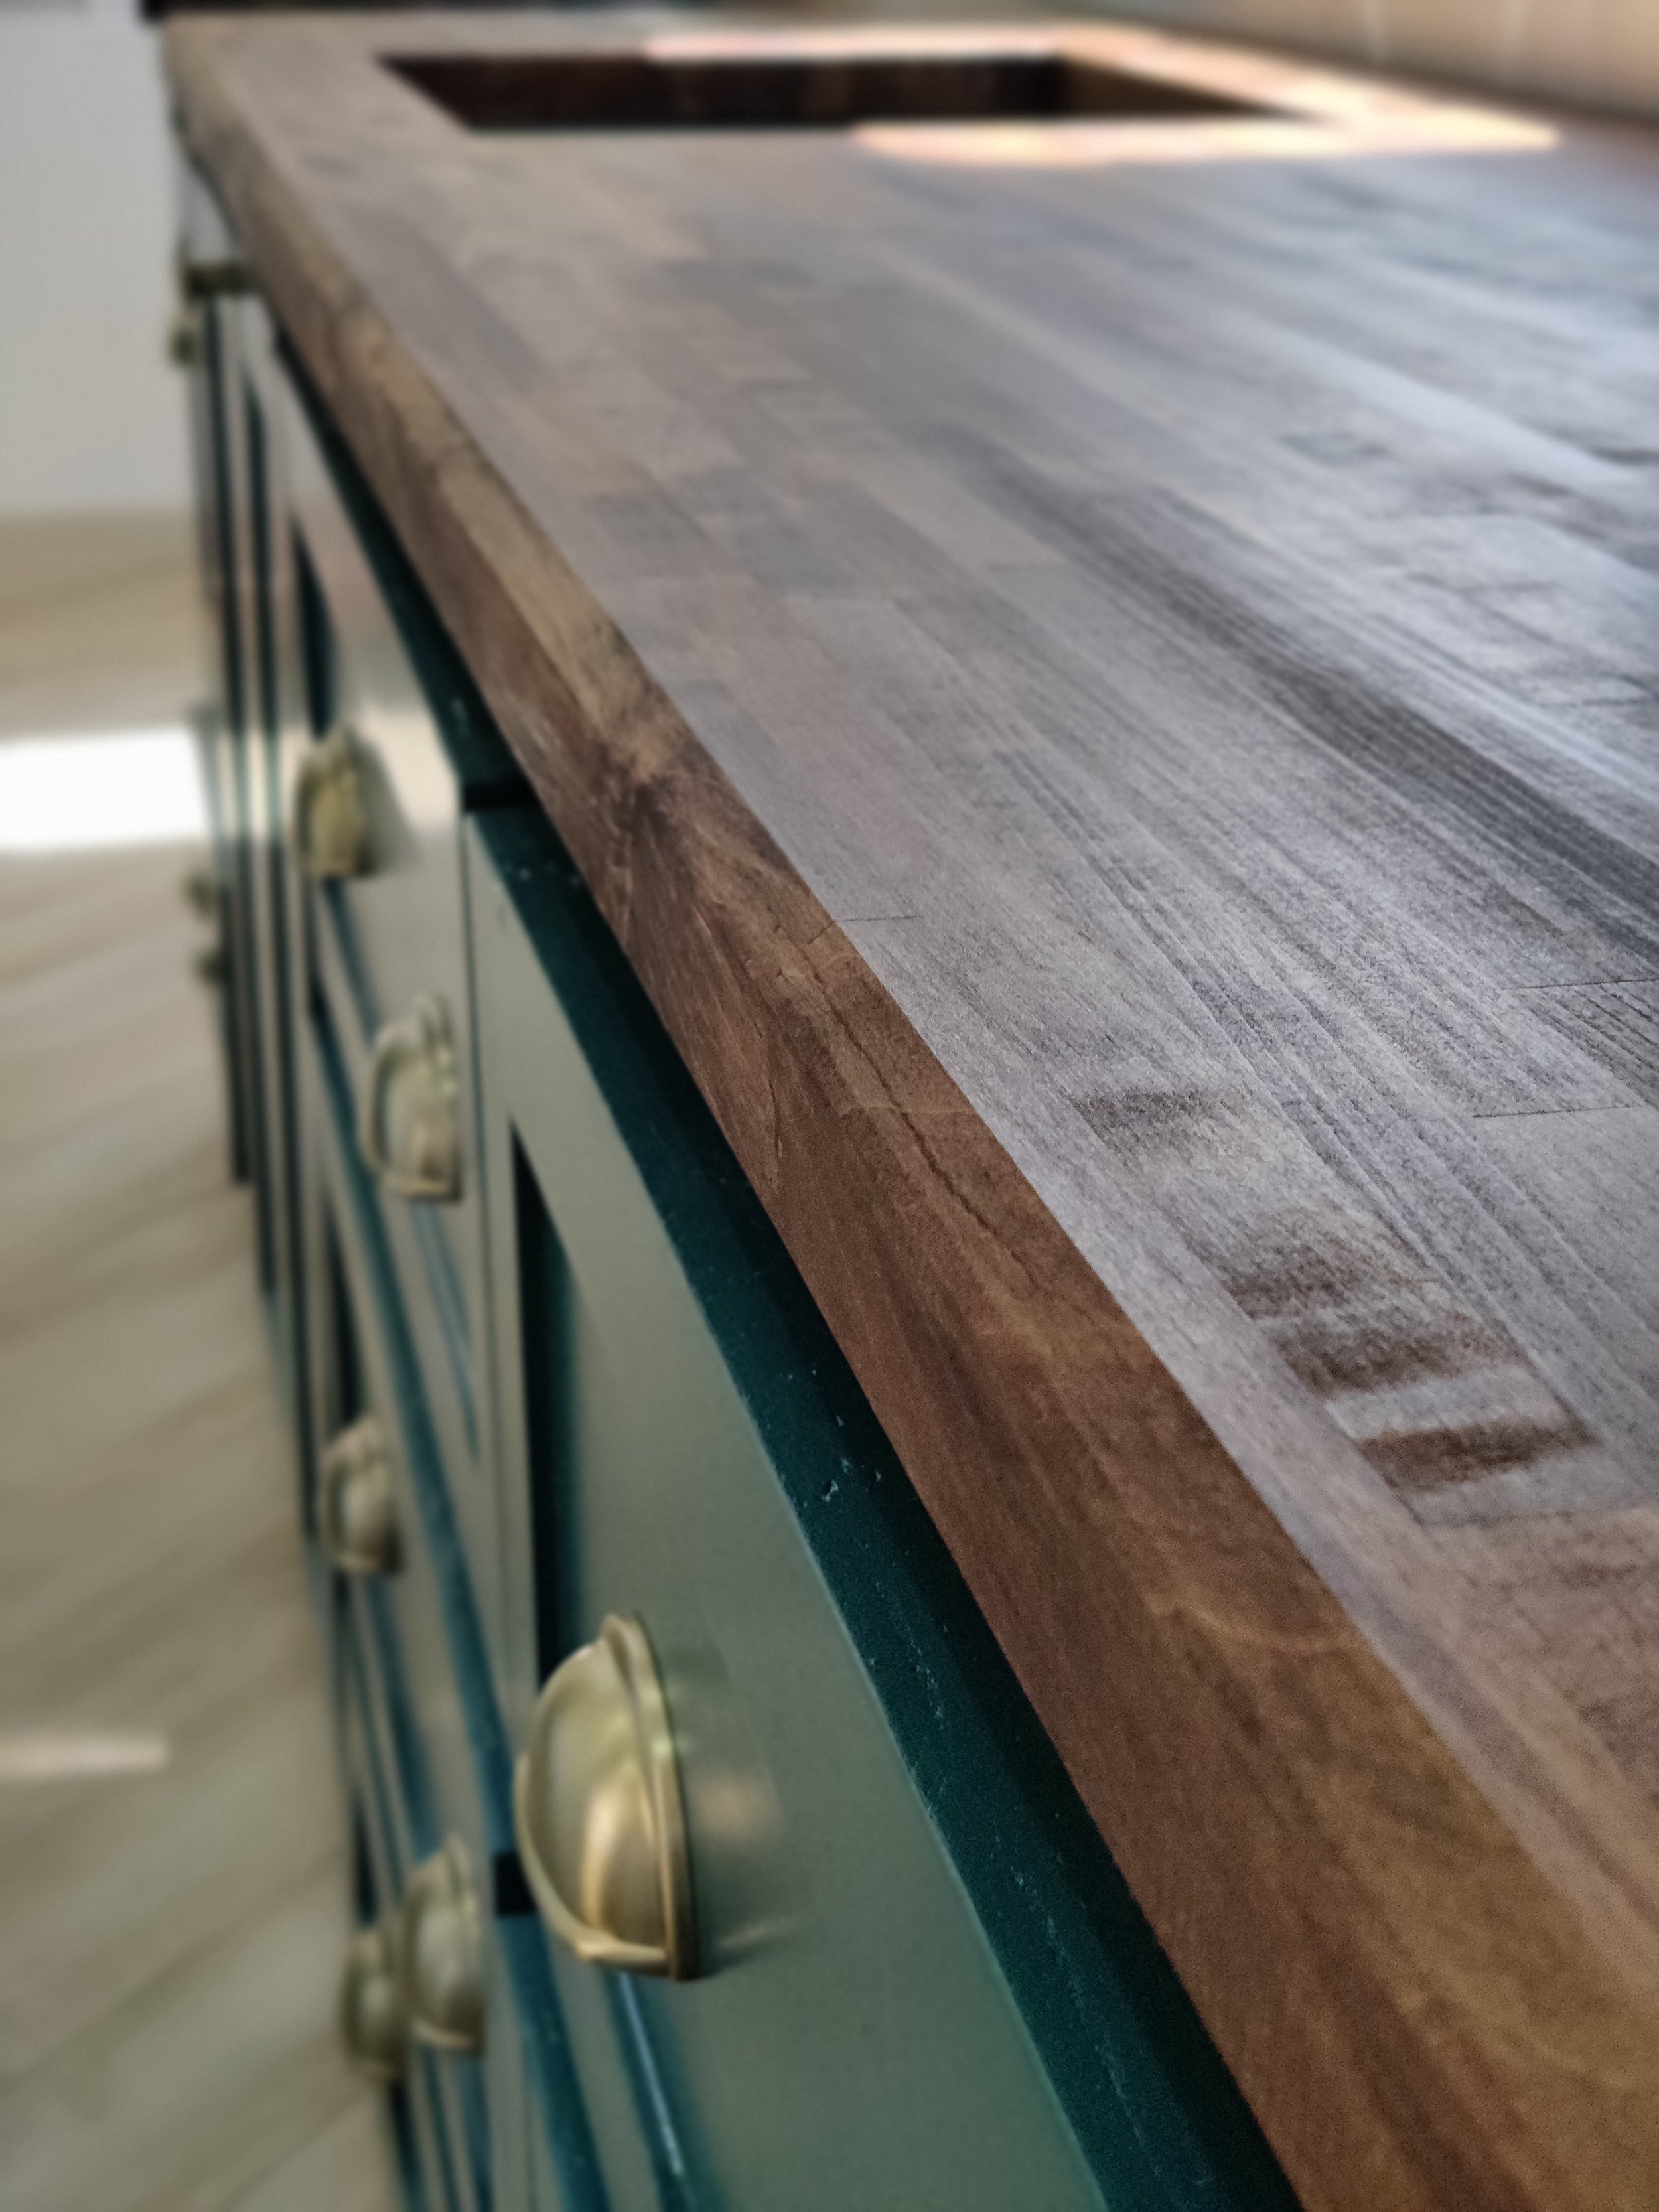
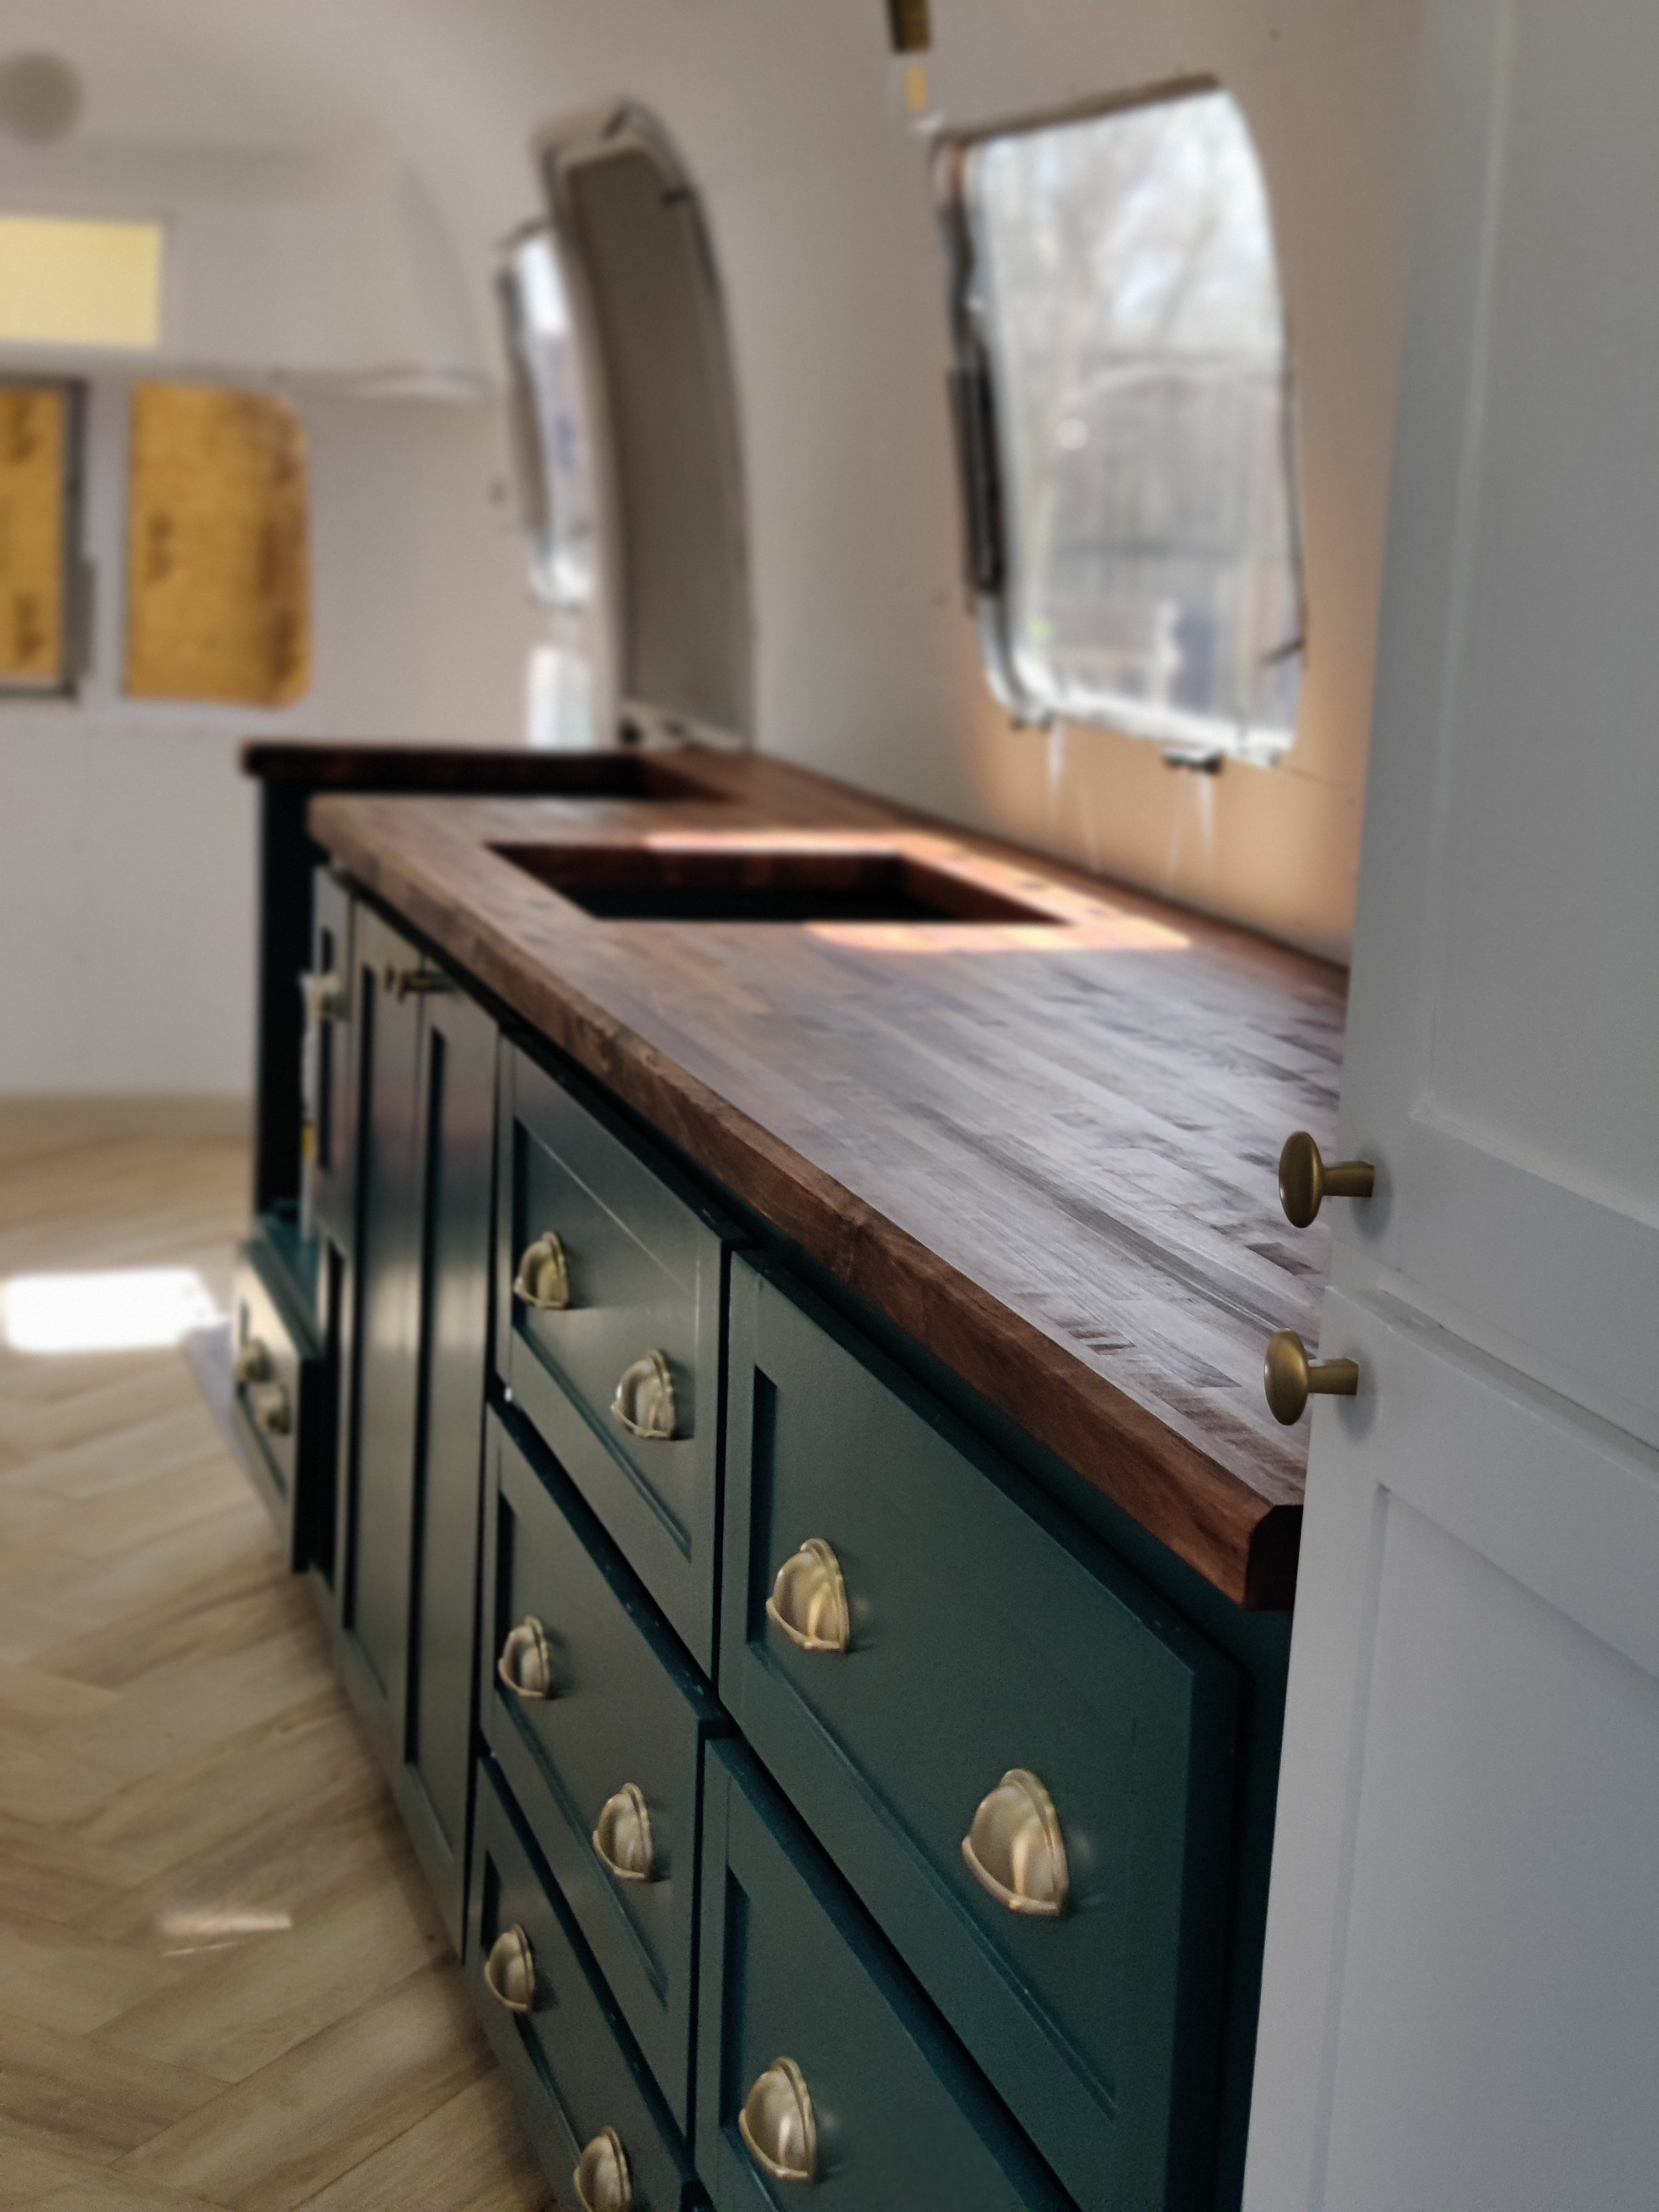
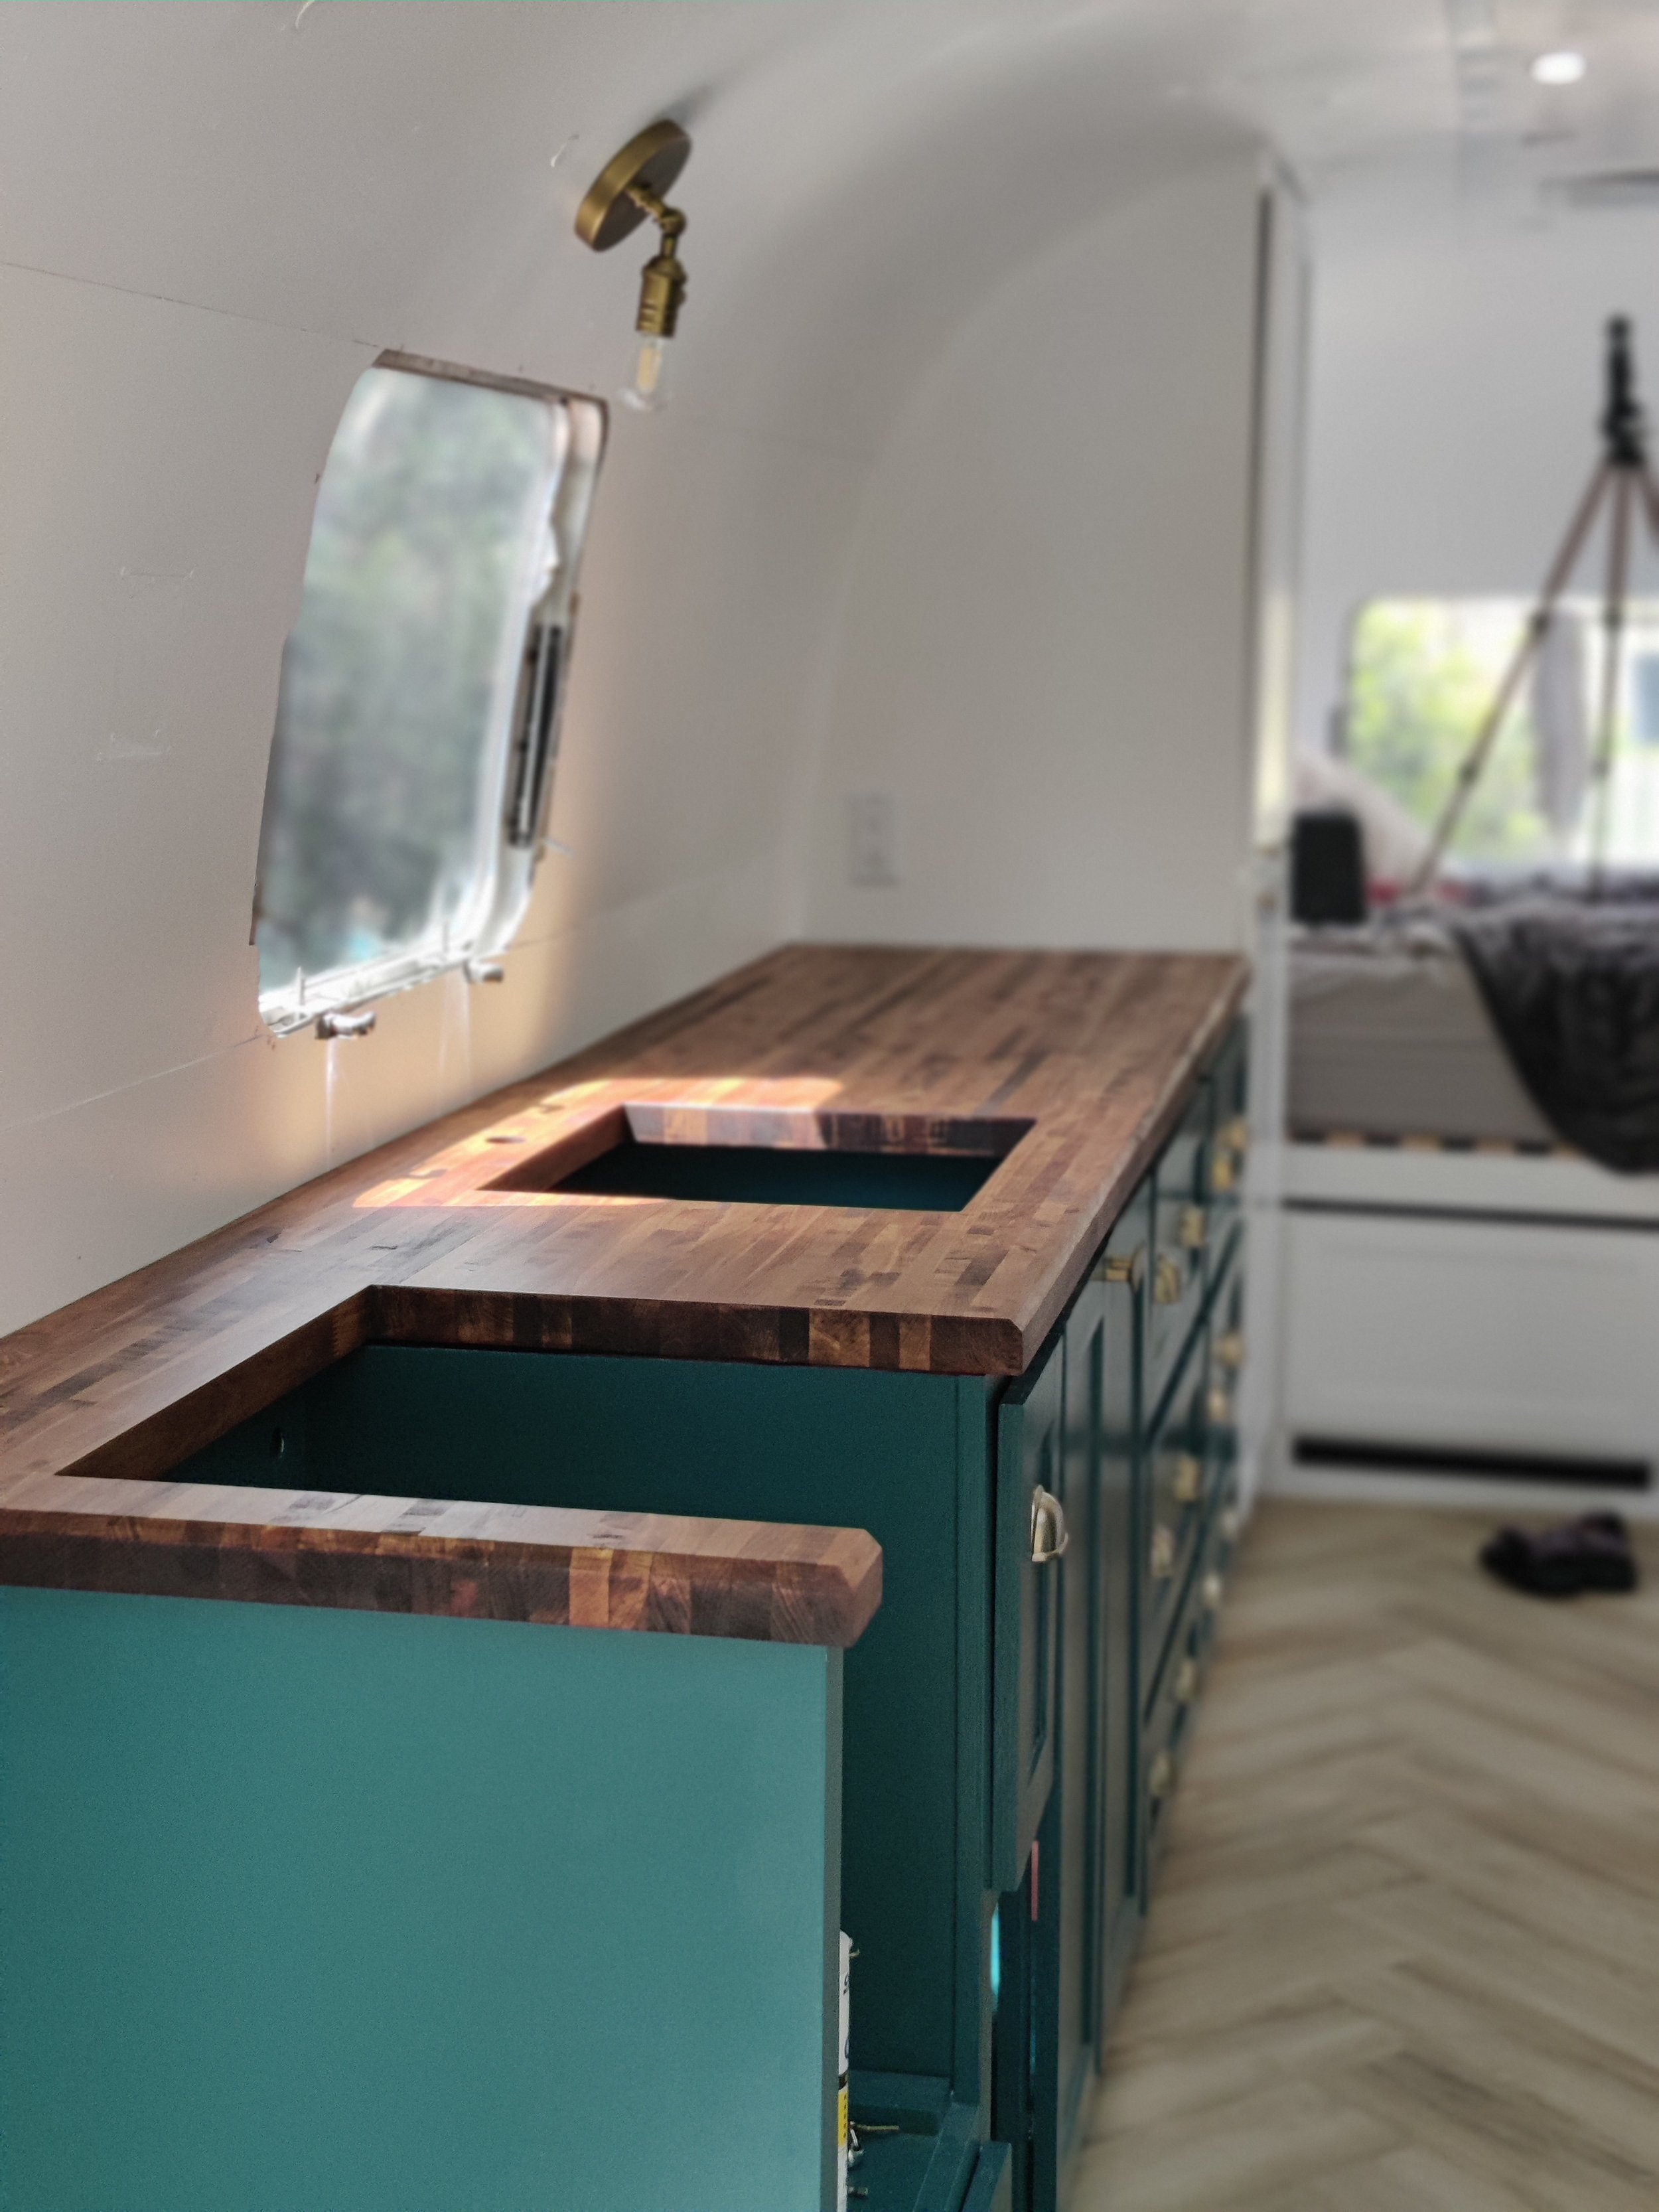
I’m glazing over the part where we spent weeks installing the drawers (drawer slides are trickier than they appear), because we need to talk about our countertops. We decided on maple butcherblock because it is less prone to cracking than stone or solid surface and we could cut/shape it ourselves on site. With a structure as…particular…as Pauline, that was a big bonus. We also loved the warmth that the wood tone brought to the space.
When we got home with the butcherblock, Jared, my parents, and I carried it through the front window and marked the length…then carried it back out the front window and cut it. This was one of THE MOST STRESSFUL cuts we’ve made.
…Then we carried it back in and Jared used a scribe to fit the back edge against the undulating surface of the interior wall skins. Why can nothing in this thing ever be straight? I lied earlier. This was THE MOST STRESSFUL cut we’ve ever made.
Then we carried it back in (that’s three trips through the front window, if you’re counting), to mark where the oven and sink cutouts needed to go. Jared used the circular saw to cut out for the oven, but it took about 50 passes with the router to cut out the hole for the sink.

With all of our cuts made, Jared used the router to chamfer the edges, then we moved on to finishing and sealing it with Real Milk Paint Company Dark Tung Oil. I cannot say enough good things about this product.
It gave our wood the most beautiful, rich color.
It sealed it against water without creating the unnatural, glossy surface you get from other finishes.
It’s all natural and food-safe.
It smells AAAAMAAAZING. Like the entire Airstream was full of oranges.
When it needs a touch up, you just add another coat of oil. No sanding required.
Application was a breeze. You just keep adding more oil until the wood can’t absorb any more, then wipe off the excess with a clean rag. No worries about streaking or uneven color!


We did about 4 coats total to make sure we got a really solid seal, and we used uncut dark tung oil around the sink cut out to give it extra protection.
Seeing Pauline start to look like a home was just the encouragement we needed to get back to work on the less glamorous parts of this remodel: propane and plumbing. But let’s leave that for next time. For now, let’s just savor the pretty parts.