Airstream Remodel Episode 12: Cabinets, Closets, Bathroom, and More!
Long time, no see…
You may have kept up with us on the vlog, where I have been better about posting, but it’s been a while since I gave a written update, so let’s dive in.
Cabinets
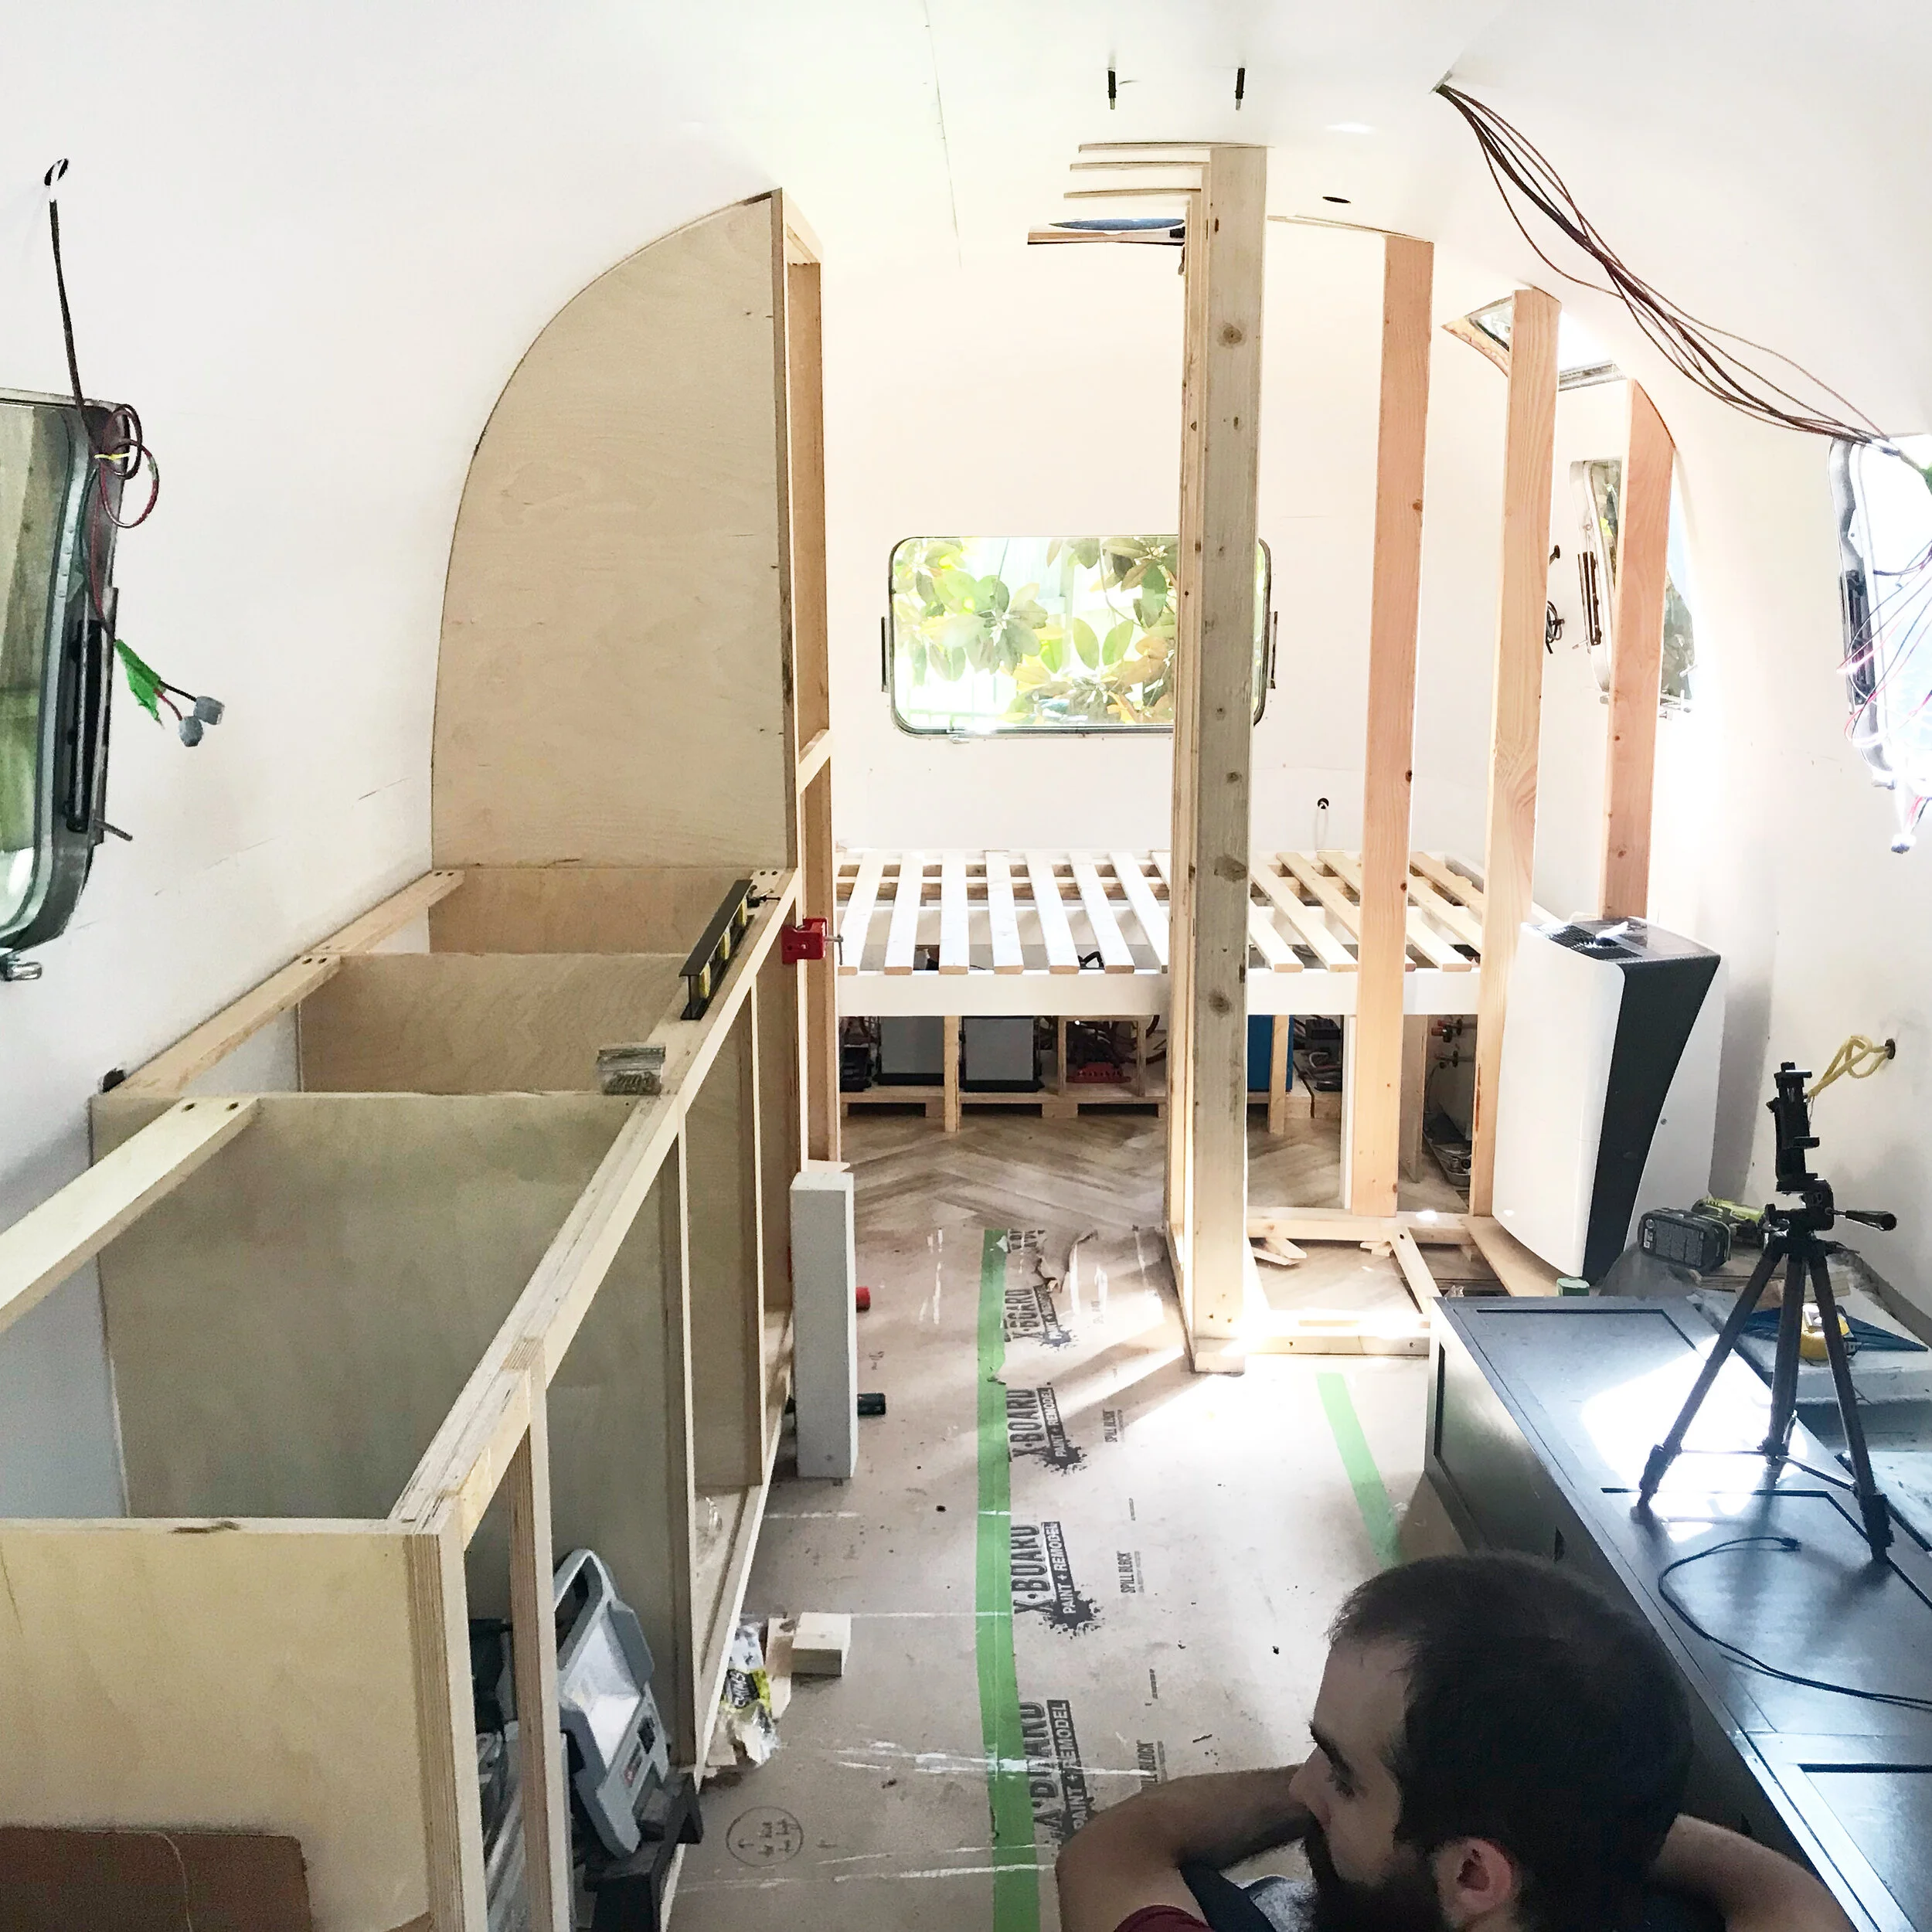
Designing the cabinet layout was pretty challenging. There are some fixed points that we had to work around, like the location of the exhaust fan, the window where I wanted the sink centered, the wheel well boxes, the furnace, etc. One flexible item was the closet. We could make it larger or smaller depending on available space, so when we laid out the cabinets, we started at the front door and worked towards the bed in the back.

Per the advice of our friend who owns a cabinet shop, Jared started by building the face frame out of 2” strips of birch plywood. This let us get an idea of where the different cabinet boxes would go. Then we started building the boxes, which, like everything, were made more complicated by the curved walls.

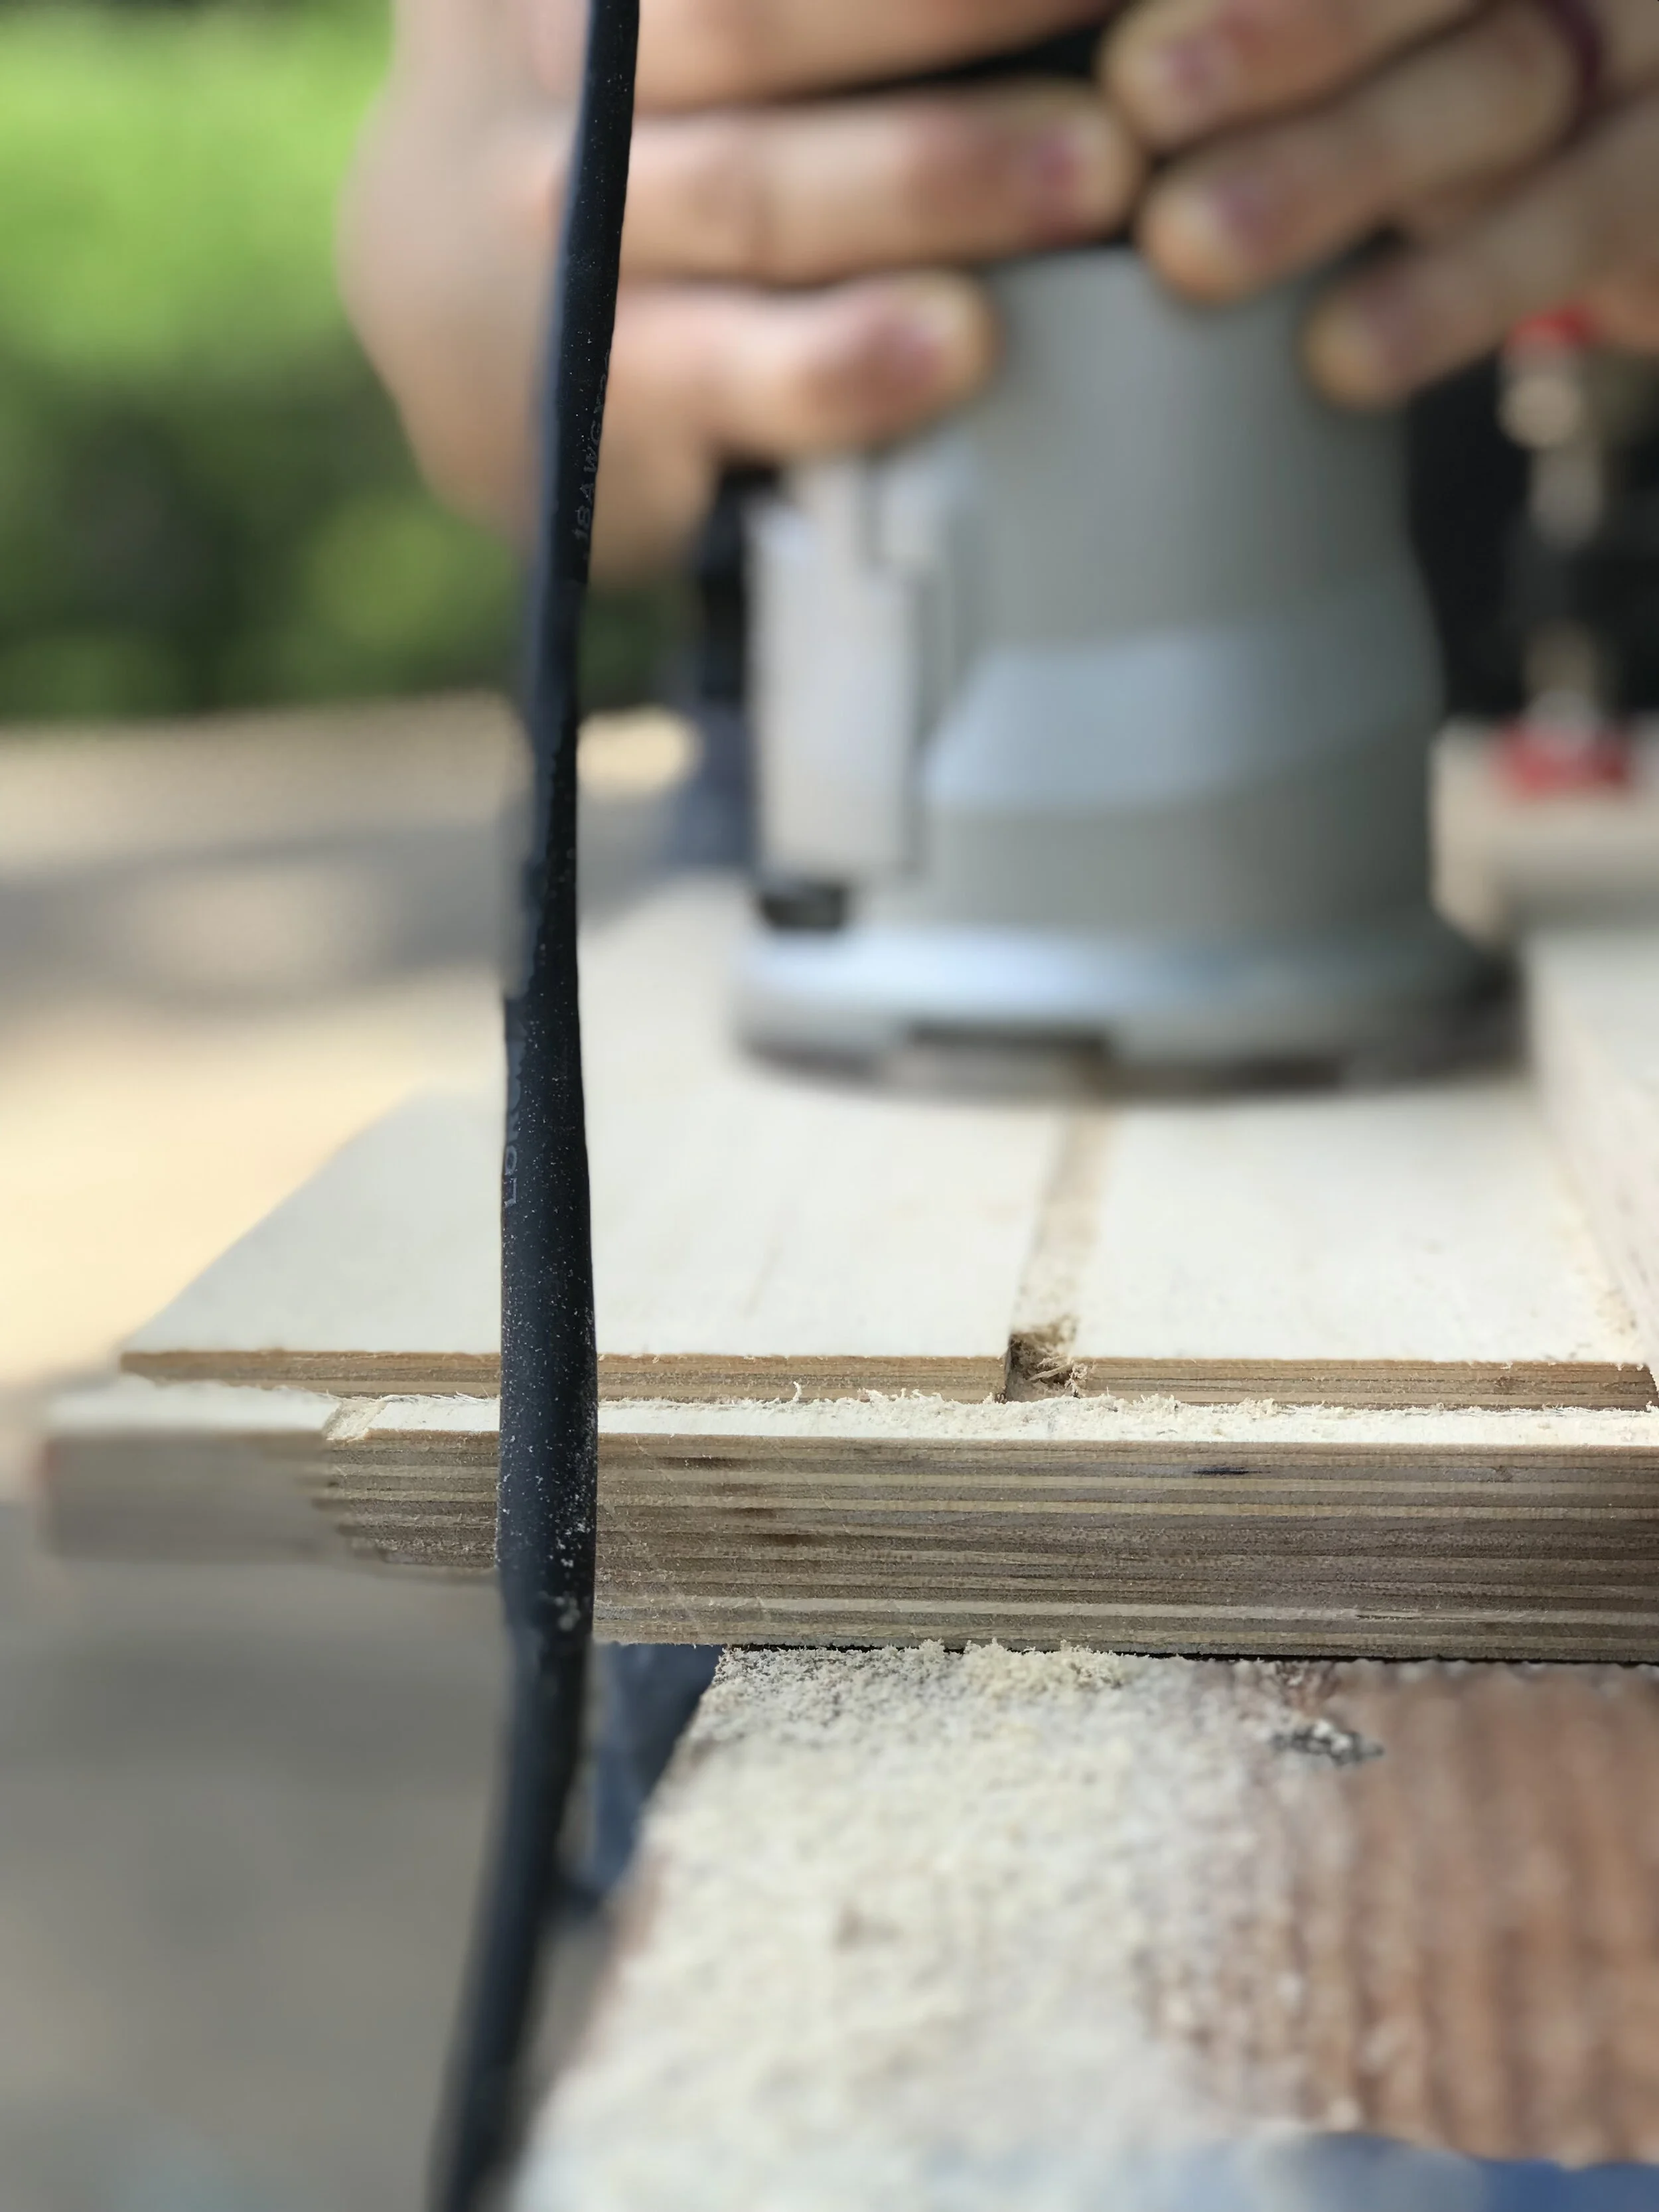
To assemble the boxes, Jared routered out grooves so the pieces would click together. This was a tedious process but makes the structure much more resistant to rattling apart when we’re driving.

Once we had the main run of kitchen cabinets figured out, we built the closet, which is the first structure that had to fit all the way up into the curved ceiling. We used this flexible curve tool to capture the curve and trace it onto our birch plywood.

Once we hit the bedroom, we turned around and started working our way back towards the front. Sizing the bathroom was a balance of giving enough room for us to comfortably use it without stealing too much space from everything else we needed to fit onto the street side. We decided on a 2’x3’ shower. This is NOT roomy, but it was the largest we could fit between the edge of the bedroom window and the edge of the bathroom window.
We framed out the shower with 2x4s and created a base that would lift up the floor enough to drain efficiently. From there we had to figure out the vanity. The part in front of the window needed to be large enough to put in a sink where you could reasonably wash your face without splashing water on every inch of the floor.

However, the rest of the vanity had to be narrower in order to fit the toilet. I also wanted the vanity to be lower next to the toilet so there would be more elbow room and make it feel a little less like an airplane toilet. I mean, let’s be honest, it’s never going to be a luxury bathroom experience, but I’m shooting for “doesn’t remind me of a port-a-potty.”

To accommodate all these needs, enter this shape. Jared had the excellent idea to angle the side of the sink vanity instead of making it square so you wouldn’t clip your knee on the corner when you sit on the toilet. There will be a sliding door in the lower part of the vanity to increase our storage next to the toilet. From there, Jared framed out the remaining walls, and voila! Bathroom!

I had seen an Airstream reno with board and batten and I loved how cozy it made the space. Jared loved the look as well, so we spent a little extra time to spruce up this wall outside the bathroom. I could probably do a whole post on the board and batten (comment below if you would be interested), but for now, here’s the finished product!

At this point, we also moved the washer/dryer in so we could get a feel for how much room it would take up. I’m glad we did because we realized that it was longer front to back than side to side. To preserve as much hallway space as we could, we decided to position it facing the living room, as pictured above, instead of facing the hallway as we had originally planned. This saved us about 5” of hallway space from the washer/dryer to the bathroom, since we would have had to bump out all the other cabinets as well to match.
Can we also take a moment to revel in the fact that we will have a washer/dryer in Pauline! This is definitely a luxury for RV/tiny house life, but I’m really not a fan of laundromats, so for us, it was worth the space.

Jared built the box around the washer/dryer, then worked back towards the bathroom, building an enclosure for the fridge and using the remaining space for a pantry. You may notice some other small changes, like the thermostat wired to the AC, the oven sitting in place, and the light switches installed. One other major change was on the exterior.

Polish!
Over the course of several weeks, Jared did three levels of polish to get Pauline to her final mirror shine. He is continuing to improve the exterior, redoing all the seams where the aluminum panels meet. We also still have to repaint all the exterior trim, but that is a minor cosmetic detail. I’m looking forward to the day when I can be particular enough to even think about that!
In addition to all the big work I’ve already mentioned in this post, Jared has also accomplished so many other smaller tasks along the way, like installing the interior lights, wiring the outlets, building the under-bed drawer, building a shelf to fill the hole in the end cap, reinstalling the door trim, building and installing a custom sliding door for the bathroom, etc. There’s no way I could innumerate how much he has gotten done. The vlog is at least a little more detailed, so if you’re itching for more specifics, check it out!
