Airstream Remodel Episode 2: Spray All the Things
Much like building a house, the first few stages of rebuilding an Airstream are torturously slow and tedious. Visions of paint chips and flooring samples are dancing in my head, but the truth is that we are still a good ways off from that part of the process. First, we had to address the frame.
We were fortunate that the frame was in pretty good shape, with rust damage in only a few spots. Jared got to work grinding down those spots, then our friend Trent welded supports in where the frame needed some help. This resulted in my favorite picture from the renovation so far:
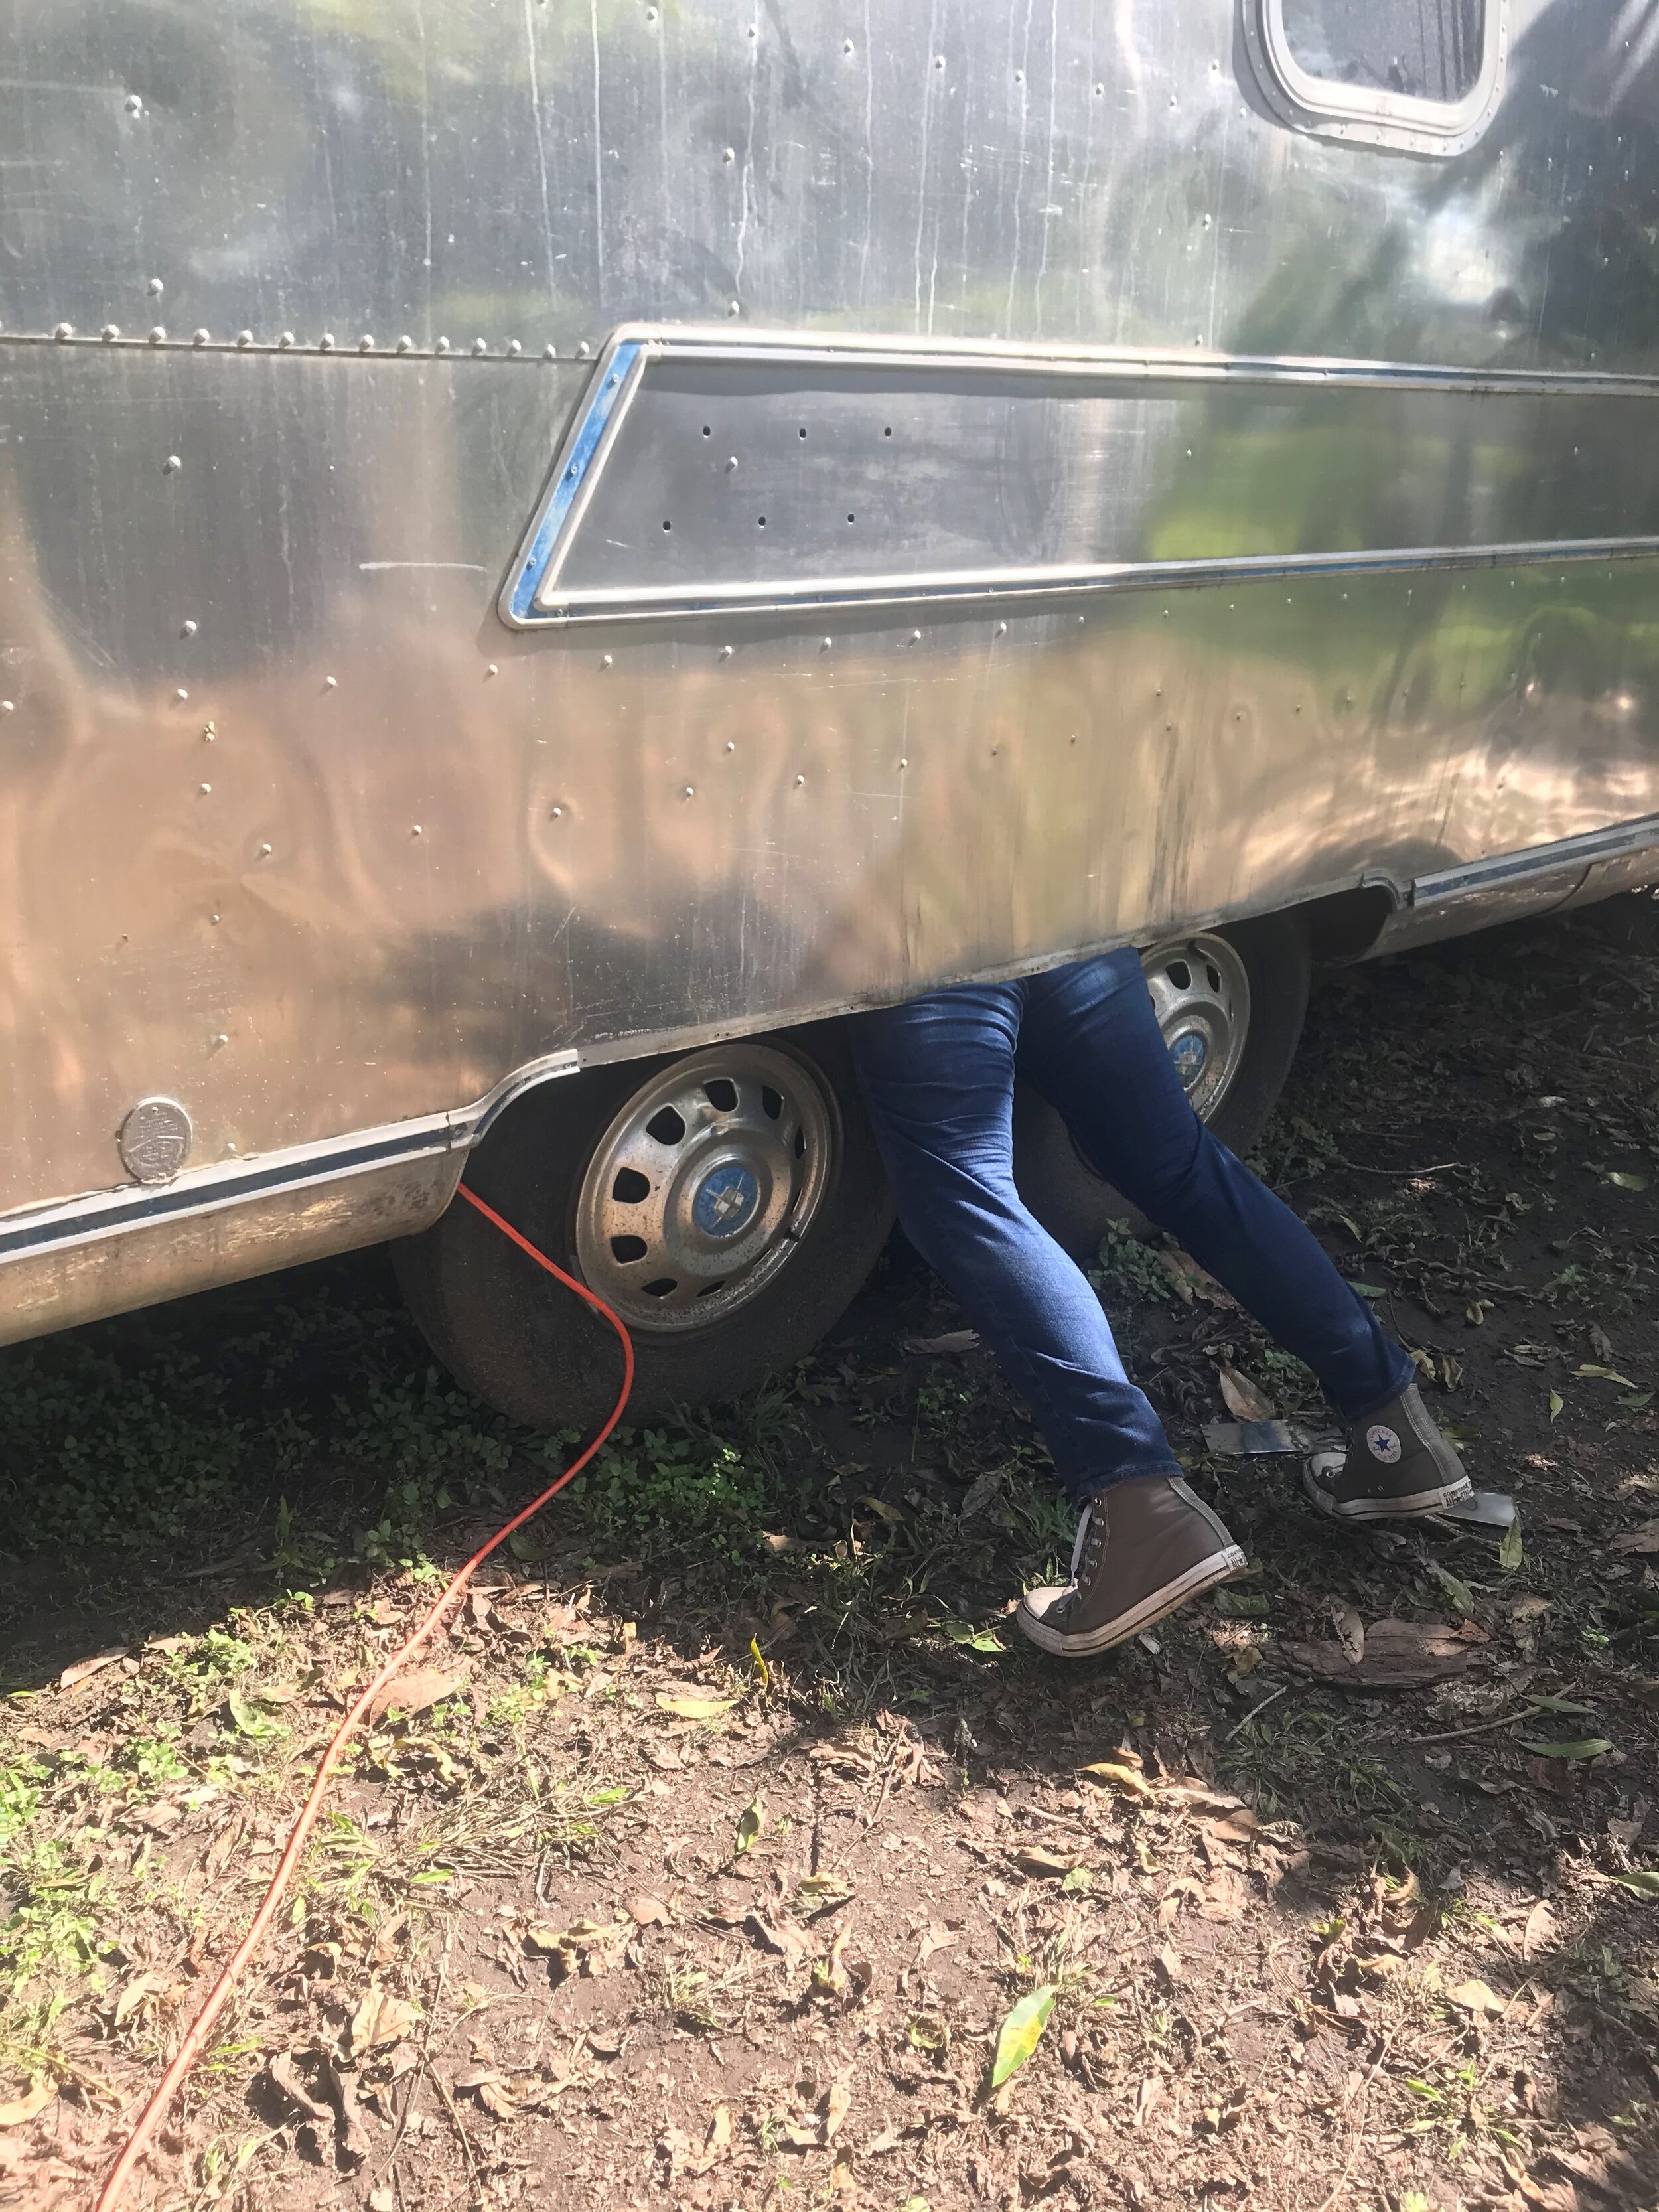
One of the areas that needed support was right next to the wheel well, and the cover was already out so…
There was mild surface level rust across most of the frame that needed to be sealed up before we could move on. Jared found a product called Rust Converter that binds with the rust and converts it into a more stable material which can then be painted and sealed. SCIENCE!

The frame after the first coat of rust converter. Already a HUUUGE improvement.
Once the rust had been converted, Jared painted the frame, tongue, and propane tanks with marine-grade paint which should prevent any further rust.

Midway through the first coat of paint on the frame


In an effort to build up some momentum on this renovation, we had some of our wonderful friends come over for a work day. We do not deserve such good people! Wayne, Scott, Trent, Stephen, Jacob, and Stephanie worked on so many thankless jobs like scraping the old caulk off the bottom of the bellypan and polishing the spots where the AIRSTREAM letters needed to be reattached (they have to be attached from the inside, so we need to put them back up before we do insulation). We accomplished so much that day, and all I can say is THANK YOU!!

Jared scraping caulk

Trent and Scott reattaching the AIRSTREAM letters


We made so much headway that day that Jared and I were able to start on insulation. We used polyiso foam boards, adhered with construction adhesive, then filled in the gaps with spray foam. A word of caution about the spray foam: WEAR GLOVES. It does NOT come off. Because Jared is Mr. Safety, he actually read the instructions, so I was wearing gloves, which saved me from a world of pain. I generally approach most tasks in the Airstream with an unfounded confidence that borders on reckless abandon, and I can’t see a way that this could POSSIBLY go wrong. My can-do attitude was mostly successful, although I did get a little bit on my arm, and I’m pretty sure I removed a couple of layers of skin along with the foam.

Midway through installing insulation
Stay tuned for the next few steps: running the underfloor plumbing (grey tanks, drain pipes), running electrical, reinstalling the front windows, and installing the new wheel well covers. We’re really looking forward to getting all those steps finished because it means we can finally replace the subfloor and stop hopping around on the beams like it’s Cirque Du Soleil up in here.

Supplies
*Affiliate links - if you click on our link and purchase something, we could earn some money, but we only recommend products that we actually use and love!