Airstream Remodel Episode 3: Caulk it. Caulk it real good.
When I first saw an Airstream, I thought, “Wow. What an impenetrable aluminum capsule.”
We are now several months into the remodel, and air-tight is not a word I would use to describe Pauline. Or water-tight. Honestly, she’s struggling to keep out mid-sized birds at the moment. She already had a fair number of holes in her from 47 years on the road, but we also had to create some holes as we made repairs: removing and repairing the front window, replacing the wheelwells, etc.
For a while the ventilation was helpful, allowing us to hose out the shell and frame and quickly drain off any water that got in. But now that we had officially made the turn from taking her apart to putting her back together, it was time to seal ‘er up!
We started with the front window assembly, which had been removed so that we could repair the double pane windows which had accumulated some moisture between the panes.
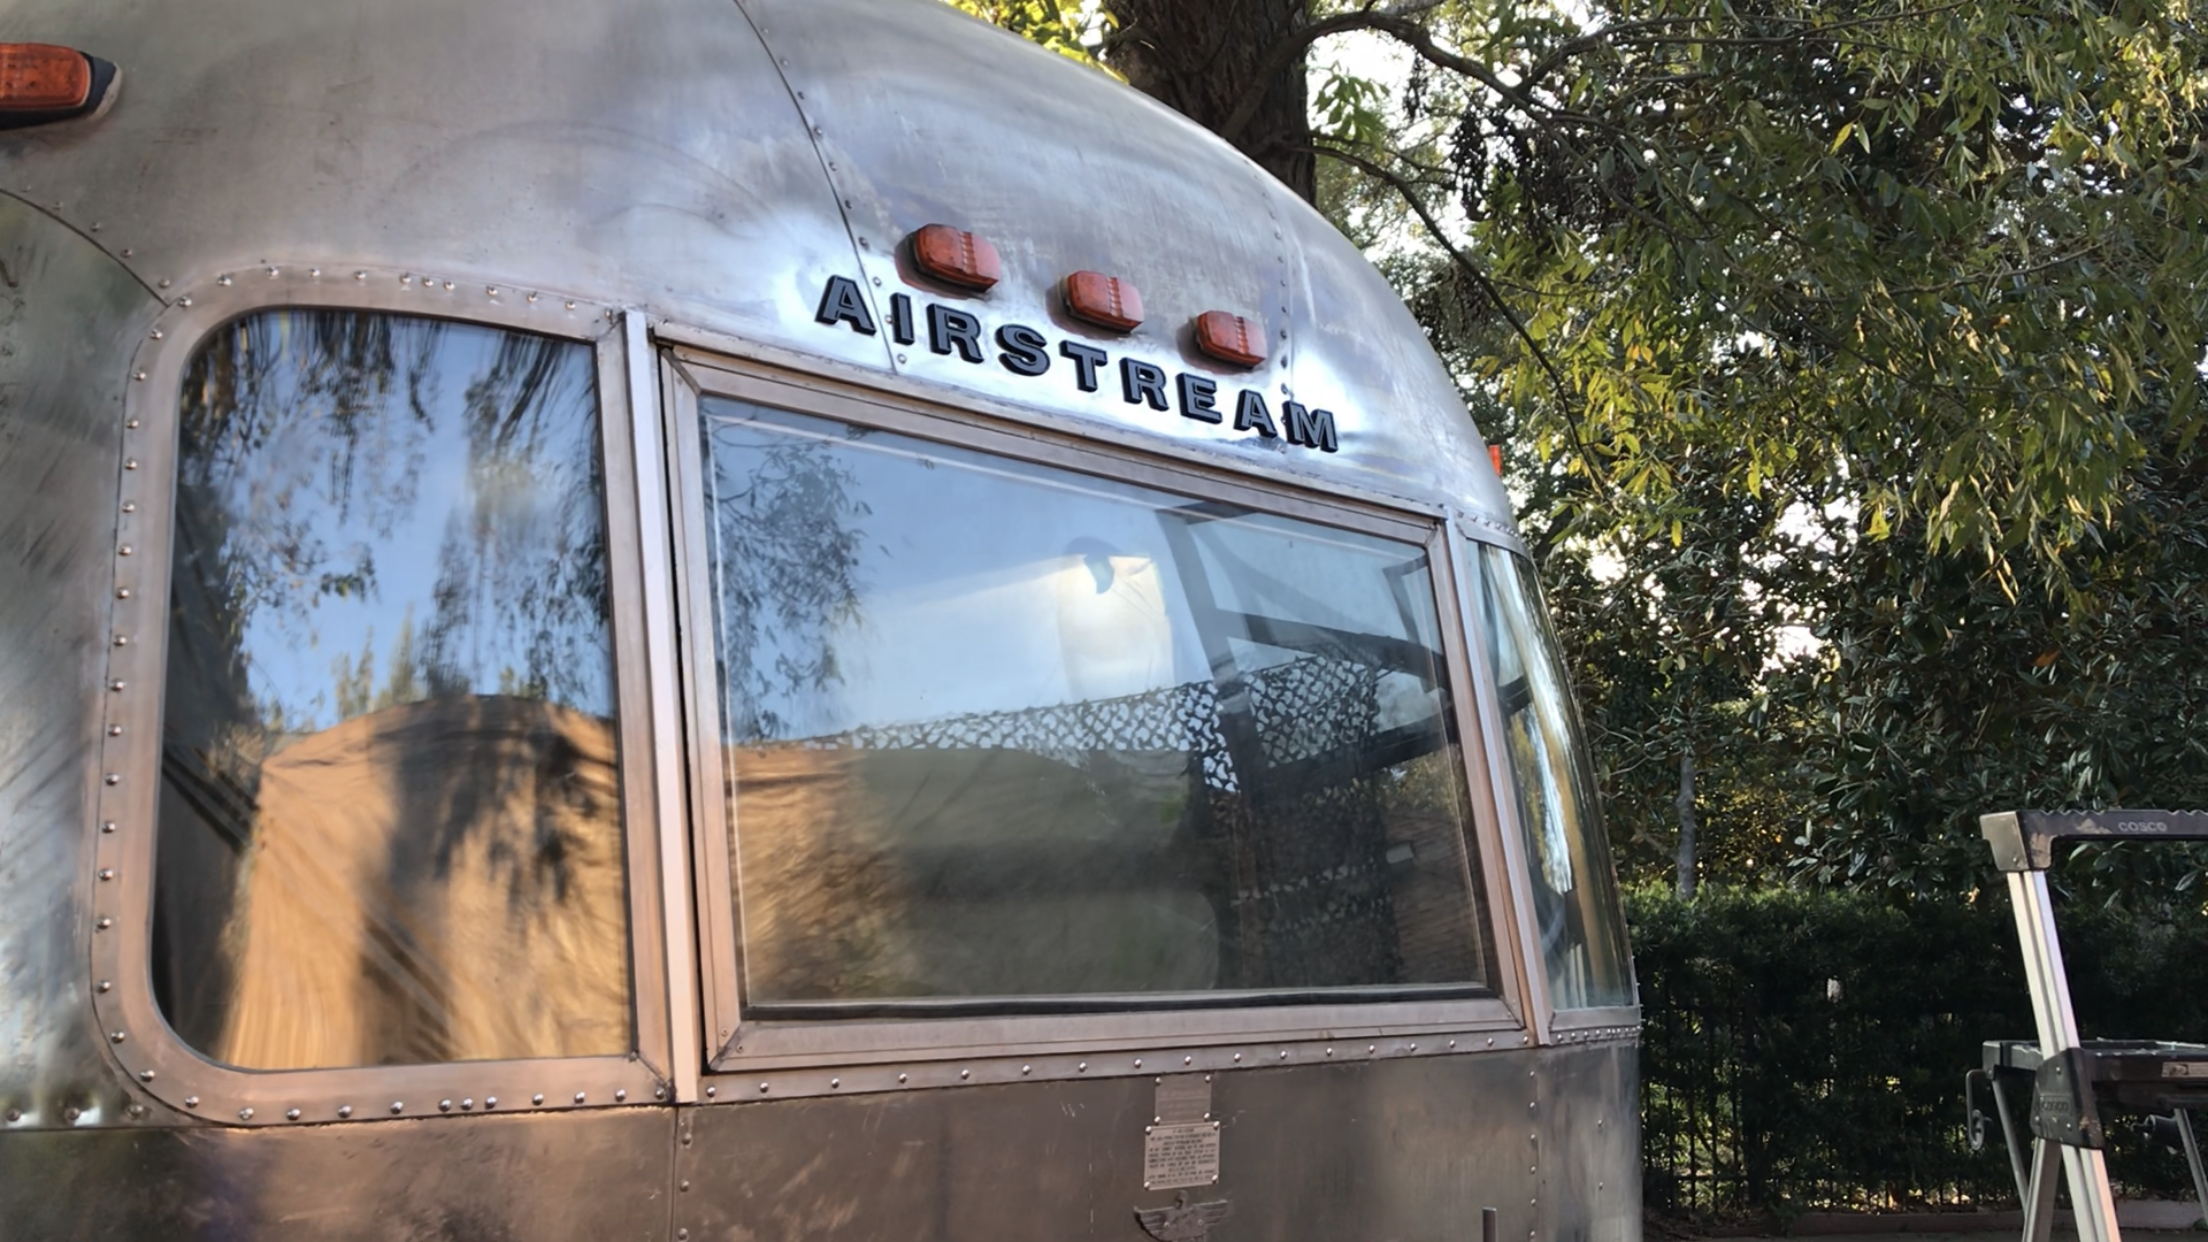
If you watch the vlog of us reinstalling this window, you’ll see us using a gasket between the shell and the window frame. LEARN FROM OUR MISTAKES! If we did this over, we would use butyl tape instead. You have to drill through the gasket to let the rivets through, which tears the gasket, rendering it fairly useless. We compensated with an excessive amount of silicone caulk on the inside and outside, and we’re hoping that prevents any leaks in the short term. Eventually, we would like to replace these windows altogether, but with a price tag over $1000, these’ll do for now.
There were also some random holes in the shell where obsolete features used to exist (radio antenna, etc). Jared patched these spots with fresh aluminum, and once we shine up the shell, they’ll blend right in.


We also got to install the new vent fan over where our stove will be. It may be small, but it is definitely a measurable improvement!

The last major holes to plug were the openings for the wheel wells. These can’t be reinstalled until we replace the subfloor, so we’ll leave that for next time!
One other major improvement happened this week:
Houston, we have grey tanks!

Back in 1973 when Pauline was built, there was no such thing as a grey tank. Waste water from sinks and showers just drained out the bottom of the Airstream and onto the ground. In 2020, this is…not acceptable. Combined, these two tanks can hold about 45 gallons, the same volume as our freshwater tank. We plan to use a Nature’s Head Composting Toilet, so every ounce of freshwater we carry needs a storage space on the other end, and now we have it! This will hopefully allow us to boondock longer when we travel.
Jared also completed the plumbing from the tanks to the exterior. The pipes to all of the faucets will happen later, above the floor, because it’s easier and it minimizes the chance of water freezing in the pipes.
P.S. - We do intend to replace our freshwater tank, but it can be replaced more easily from below, so it’s not a priority for now, especially since we plan to be hooked up to city water for the first few months of living in Pauline.
Materials
*Affiliate links - if you click on our link and purchase something, we could earn some money, but we only recommend products that we actually use and love!