Airstream Remodel Episode 7: Two Steps Forward, One Step Back
Imagine that you were trying to design the worst possible surface for paint to stick to. Now curve it into a tube, add a floor, and you’ve got an Airstream.
Today they make paintable vinyl wallpaper that is intended to hold paint, but back in 1973, the goal of the vinyl wallpaper seemed to be making sure that nothing stuck to it…you know, except the 15 layers of grime we had to remove.
Once we had cleaned all the skins, we used a product called Liquid Sandpaper to rough up the surface of the vinyl and help it hold paint. Then we meticulously taped and dropclothed every window, wire, vent, etc. and cleared everything out because it was time to PAINT!
Well, prime. From our research we found a lot of fellow Airstream renovators recommending PPG Gripper Primer. With the help of our brand new paint sprayer, we put on our first coat primer and let it dry for about 24 hrs.

There were a few spots where the vinyl had peeled and lots of open holes from old fixtures that we weren’t planning to reinstall. My mom and I worked our way around the walls, filling the holes and smoothing the rough spots with paintable caulk. This process was tedious, but vastly improved the appearance of the walls. Jared then went back and did a second coat of primer to seal in our patches.

For paint, we decided to use the Benjamin Moore Regal Select line in White (Eggshell Finish) based on this review. Major perks include:
Mildew-resistant
Fade Resistant
Zero VOC
Because RVs will fluctuate in temperature while in tow on travel days, they are susceptible to moisture problems, even when they are well sealed. We wanted to add an extra level of protection against mold and mildew, and this paint offered just that. We also liked that it is Zero VOC, especially since Jared had to paint with all the windows closed, so ventilation was basically non-existent. Two coats later and the walls are looking so fresh and bright!

You may have also noticed the flooring and wondered why we didn’t wait until after painting to put it down. What you’re seeing in this picture is not our final flooring. We found a great deal on luxury vinyl floor planks, which will be our final floor, but they don’t stick well to plywood. We decided to put down a sheet of roll vinyl as a “midfloor” to create an added layer of moisture protection and a flat, even surface for installation of the flooring planks.

So that’s our two steps forward:
Walls Painted!
Midfloor installed!
That means it’s time for…
One Step Back
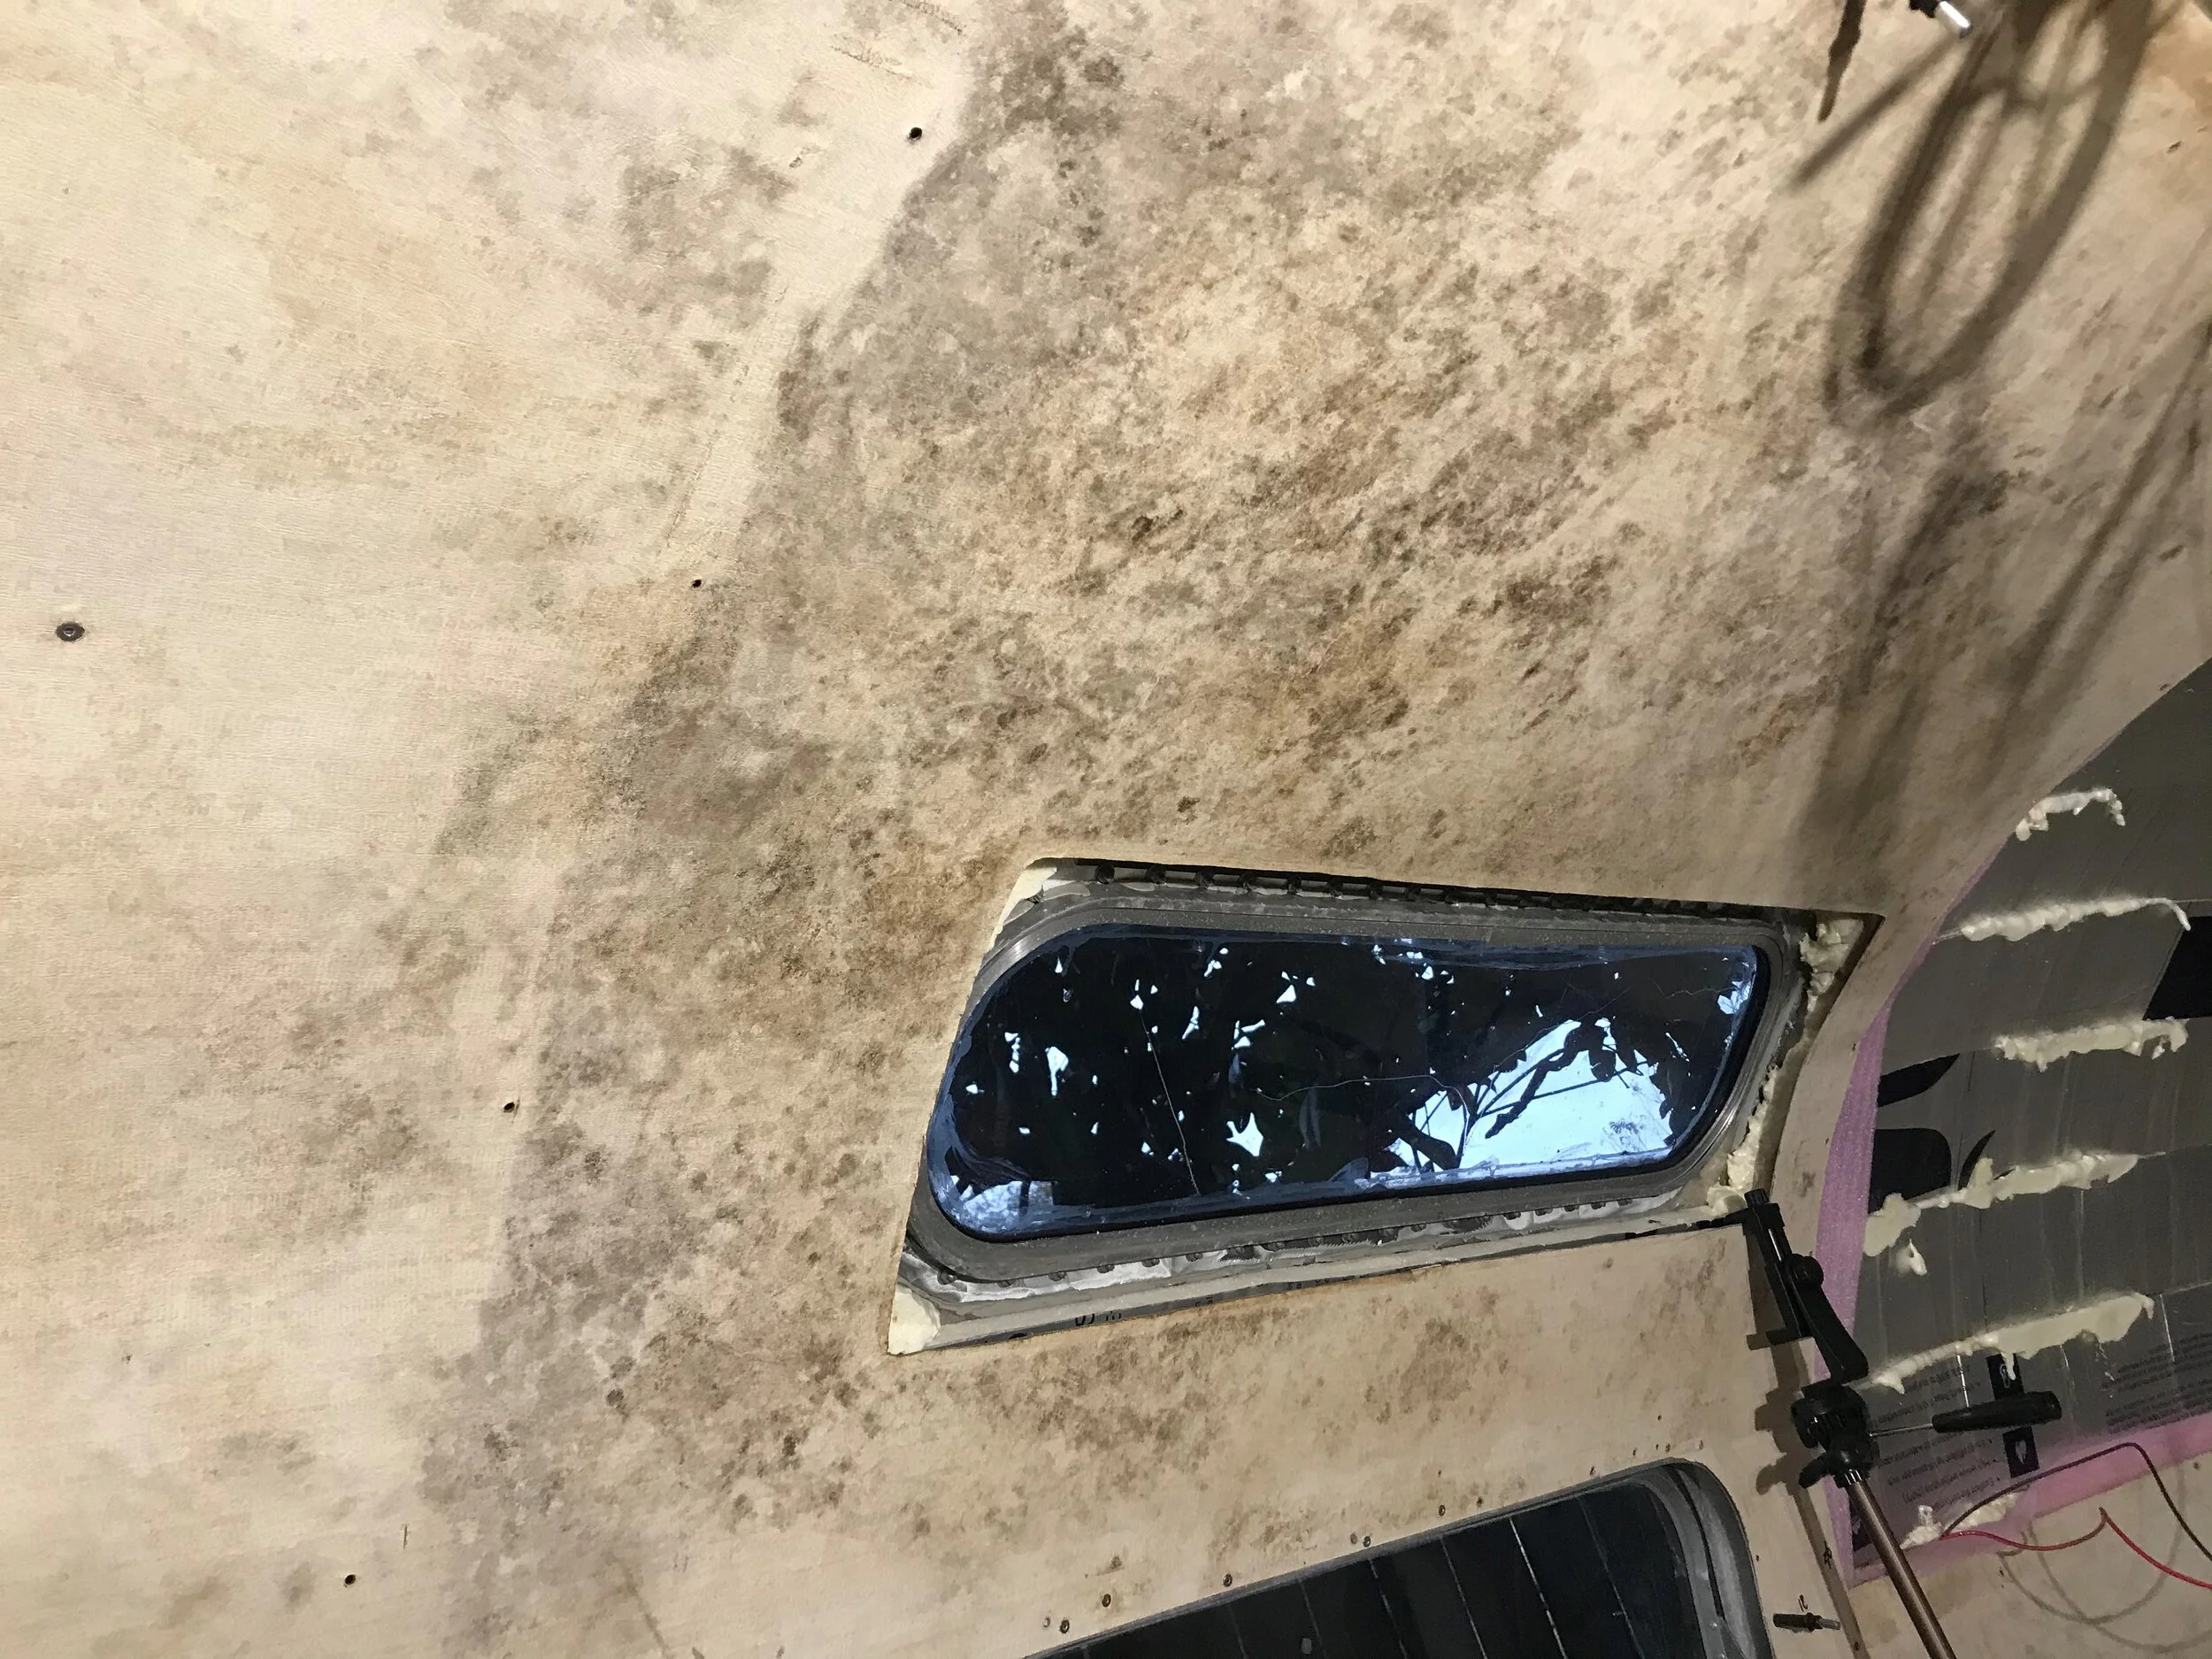
We were overjoyed with the amount of work we had tackled over the Christmas break, and we were planning to go ahead and install the flooring planks and get started on cabinets as well. That’s when another huge, two-day long storm hit. We were disappointed, but not surprised, when the front windows continued to leak, in spite of the multiple tubes of caulk we had emptied into them. This finally overcame our resistance: we’re forking over the money and replacing these windows. The savings aren’t worth the worry of wondering if they’re going to leak every time it rains.
Unfortunately, that wasn’t the only leak. Seemingly out of nowhere, we found three other leaks in places where we’d never had trouble before. While we were able to dry everything out, it left us worrying that the next rainstorm would reveal another slew of new leaks that we wouldn’t even know about if we kept moving forward with the interior. We also had to rip up a good portion of the midfloor that we had just installed and even release a couple of wall panels to make sure everything got dry. This was, in a word, discouraging.

Essentially how it felt to have to rip apart all the work we’d done to stop the leaks
We hit pause on the floors and cabinets and refocused our efforts outside. The old seals had been holding, so until this point we had left well-enough alone, but we decided it was worth redoing them to give us the peace of mind that they were all done right.
We started by removing the old caulk around all the windows. A combination of scraping, mineral spirits, and countless hours of work later, and we still weren’t ready to reseal. We decided to polish Pauline first so that the new seals wouldn’t end up getting abused by the polisher later on. Although it delayed sealing the windows, I’m glad we took the time to work on polishing because there is a noticeable visual difference now. (The roof had not been polished yet, but we wanted to go ahead and seal the windows, so that will come later.)

Jared was finally able to move forward with sealing the windows. We tried Rustoleum Leak Seal, both the spray-on and brush-on varieties, as it had been recommended as a holy grail product for stopping leaks. Unfortunately, both types produced so many bubbles that the seals all looked foamy instead of clear, and more importantly, as some of the bubbles popped, huge gaps were left behind meaning the windows were far from water-proof.
Imagine painstakingly sealing all the windows on your home with multiple layers of sealant, then waiting days for it to dry, and realizing it’s still not waterproof. Now imagine immediately starting the process of removing those seals.
Demoralizing. That’s the word.
To add insult to injury, the Rustoleum products were EXTREMELY difficult to remove. The best method we found was mineral spirits and quad 0 steel wool. I say this is the best method, but it still wasn’t great. From up close, the areas we scrubbed with steel wool do look a bit scratched, but from 10 feet away, it actually just looks like it’s been polished, and TBH, “Good enough from 10 feet” is the standard we’re shooting for right now.
Finally, FINALLY, about two weeks after we initially began the work on the exterior, we finished sealing all the windows (except the front one since that one is about to be replaced) with Geocel ProFlex RV Sealant. We haven’t had a chance to test the seals yet, but at least visually, they look secure. We’re expecting a lot more rain over the next week, so if you’re looking for something to pray for, pray that our seals hold so we can finally move forward.