Airstream Remodel Episode 8: Déjà Vista View
As we continued improving the seals on the outside, the biggest issue we were facing was the front window assembly. As you may remember, we’ve already reinstalled this whole ballgame once. We used the recommended rubber gasket and thought we had done it right. Unfortunately, we had nothing but leaks for months after the installation, no matter how many layers of caulk we slathered over the seams.

Some of the caulk we removed as we prepared to reinstall
The problem was that our wing windows (the curved ones on the outsides) were old, double-pane windows and in spite of having just repaired them, water was leaking in between the panes, as well as around the frames.

Feeling discouraged, but not defeated (ok, maybe a little defeated) we ordered new windows from Inland RV. These were advertised to be the correct size to replace our wing windows, and they were single pane, which would simplify the design and hopefully minimize the opportunity for leaks. When they arrived, Jared started trying to fit them into our shell. And they sort of fit. They were about 1/4 inch short. That may not seem like much, but when you’re trying to create a water-tight seal, every fraction of an inch matters. The rivet holes on the window frames were pre-drilled, so we didn’t have the option to simply put our holes in the frame farther out. Instead, we had to find a way to make the opening where the windows sat in the shell smaller.
Simple, right?
Jared used some of our scrap aluminum to make spacers which would bridge the gap between the shell and the window frame. Just once, we would love to order something that was “made to fit a 1973 Airstream,” and not have to modify it to actually fit (I’m looking at you, wheel wells). Once the spacers were attached to the shell, Jared put up a strip of butyl tape, placed the wing windows, and started riveting them in place.
One (more) problem
The curve of the frame wasn’t quite right and it was gaping away from the shell. Using a similar method to what we used on the wheel wells, Jared used bolts and nuts through several of the rivet holes to gently tighten the frame toward the shell, essentially bending the window frame to match the Airstream. Of course, this also risked the frame bending too much and shattering the window. By the grace of God, only the frame bent, and Jared was able to secure the new windows to the shell! We then went back and trimmed away the excess butyl tape and finished with a bead of caulk all the way around.
We’ve had several rainstorms since the reinstallation and we were still having one small, pesky leak over the center window. After meticulously checking every millimeter of our seal over the window, we were starting to wonder if Pauline had a magical power that allowed her to produce water on the interior without any actual opening to the exterior. Jared’s dad then pointed out that the AIRSTREAM letters were just above where the leak was…

MYSTERY SOLVED!! We had already covered the back of the letters with insulation, so we weren’t seeing the water coming in, then dripping down behind the insulation and pooling on the top of the window. We pulled off the insulation, caulked the holes where the letters attached, and BOOM! NO MORE LEAK!!
Our next hurdle was the bellypan, which is much the worse for the wear considering Pauline’s age. After multiple attempts to seal everything up, we were still finding water after every storm.


Two of the countless holes we were trying to seal in the bellypan
That’s when we Googled “how to seal an Airstream bellypan” and discovered that they’re not actually designed to have a watertight seal. All the forums and posts we read described how water is expected to drain down into the bellypan, then drain out.

The moral of this story is: ALWAYS do your research. With a project this big, you sometimes end up going on gut instinct instead of doing research because there are just SO. MANY. THINGS. We are discovering that many parts of remodeling an Airstream are pretty counterintuitive, so this often backfires.
After the frustration at our own ignorance wore off a bit, we redirected our efforts from sealing the bellypan to creating drains and adding circulation. Jared bought some small DC powered computer fans which we will mount to the underside of the subfloor. He is planning to wire them to the towing lights so that whenever we’re driving, the fans are running, drying out any water that has accumulated in the bellypan. We will also have a switch so that we can run them while we’re stationary if we need to.
The seemingly endless work on waterproofing Pauline has left us feeling a little in the doldrums, always working but never seeming to get any closer to our goals.

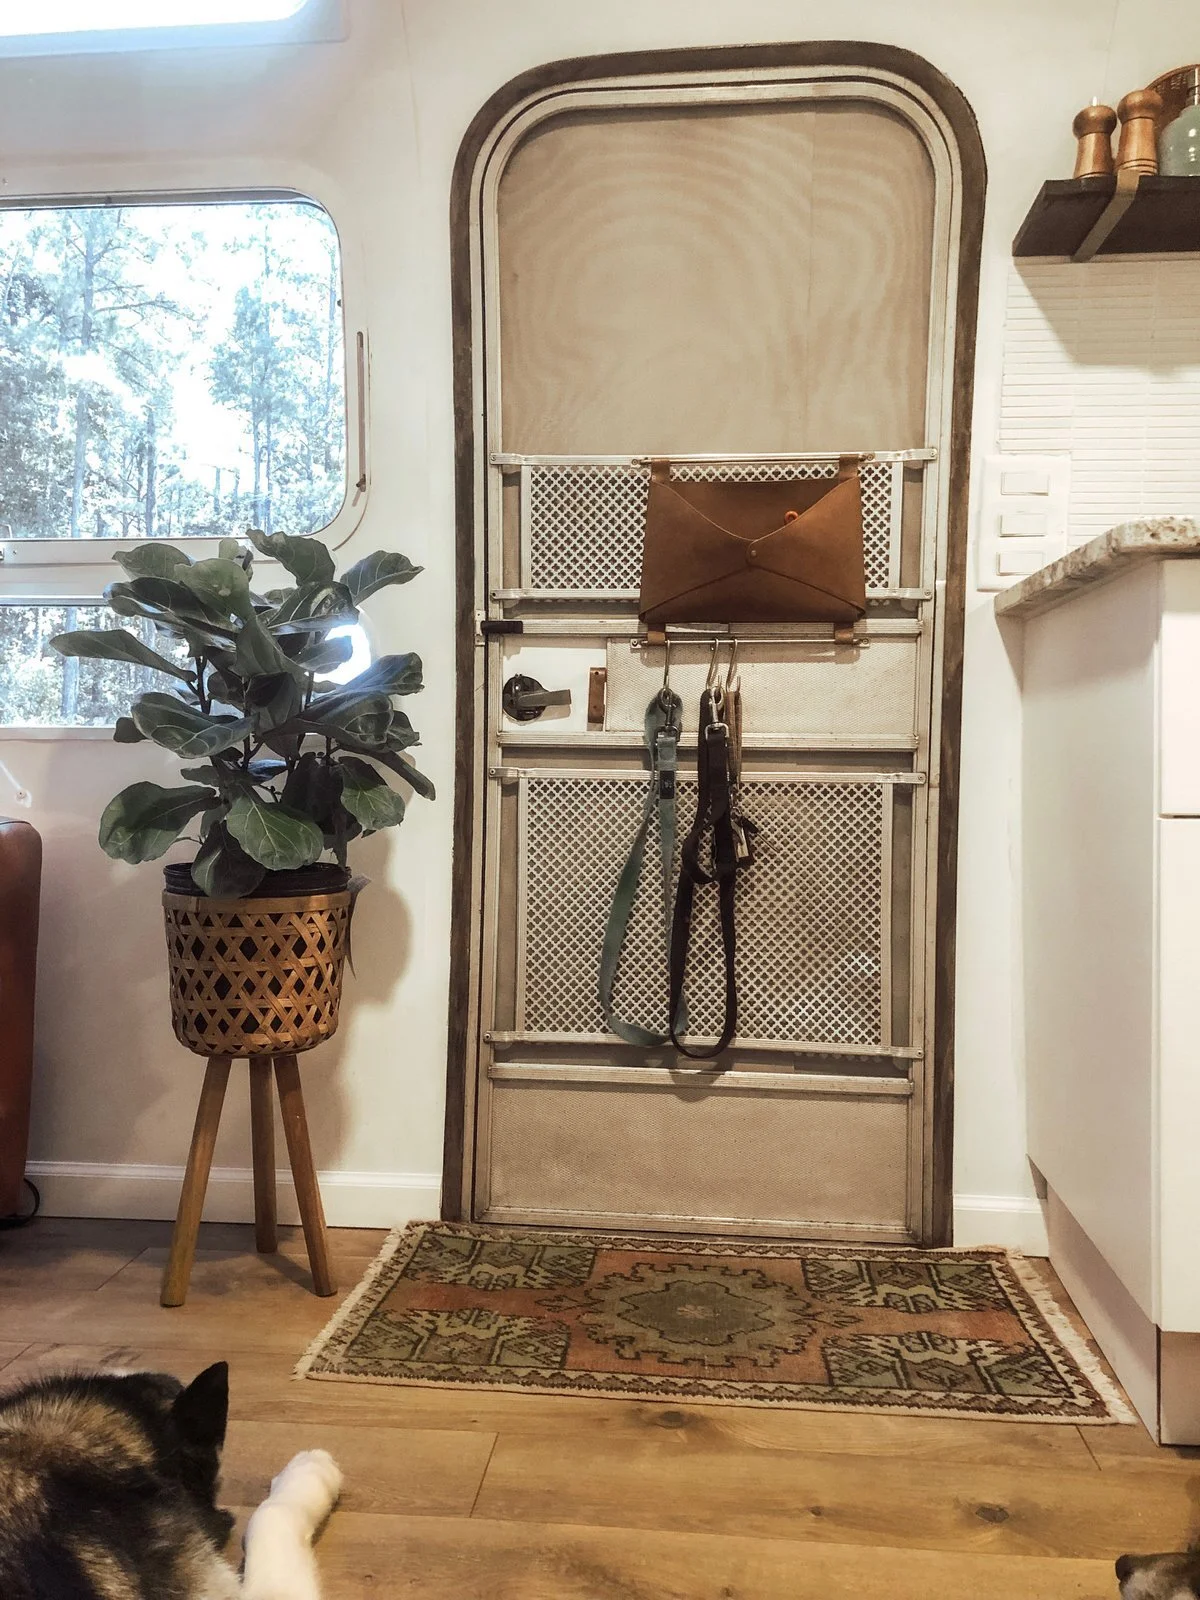
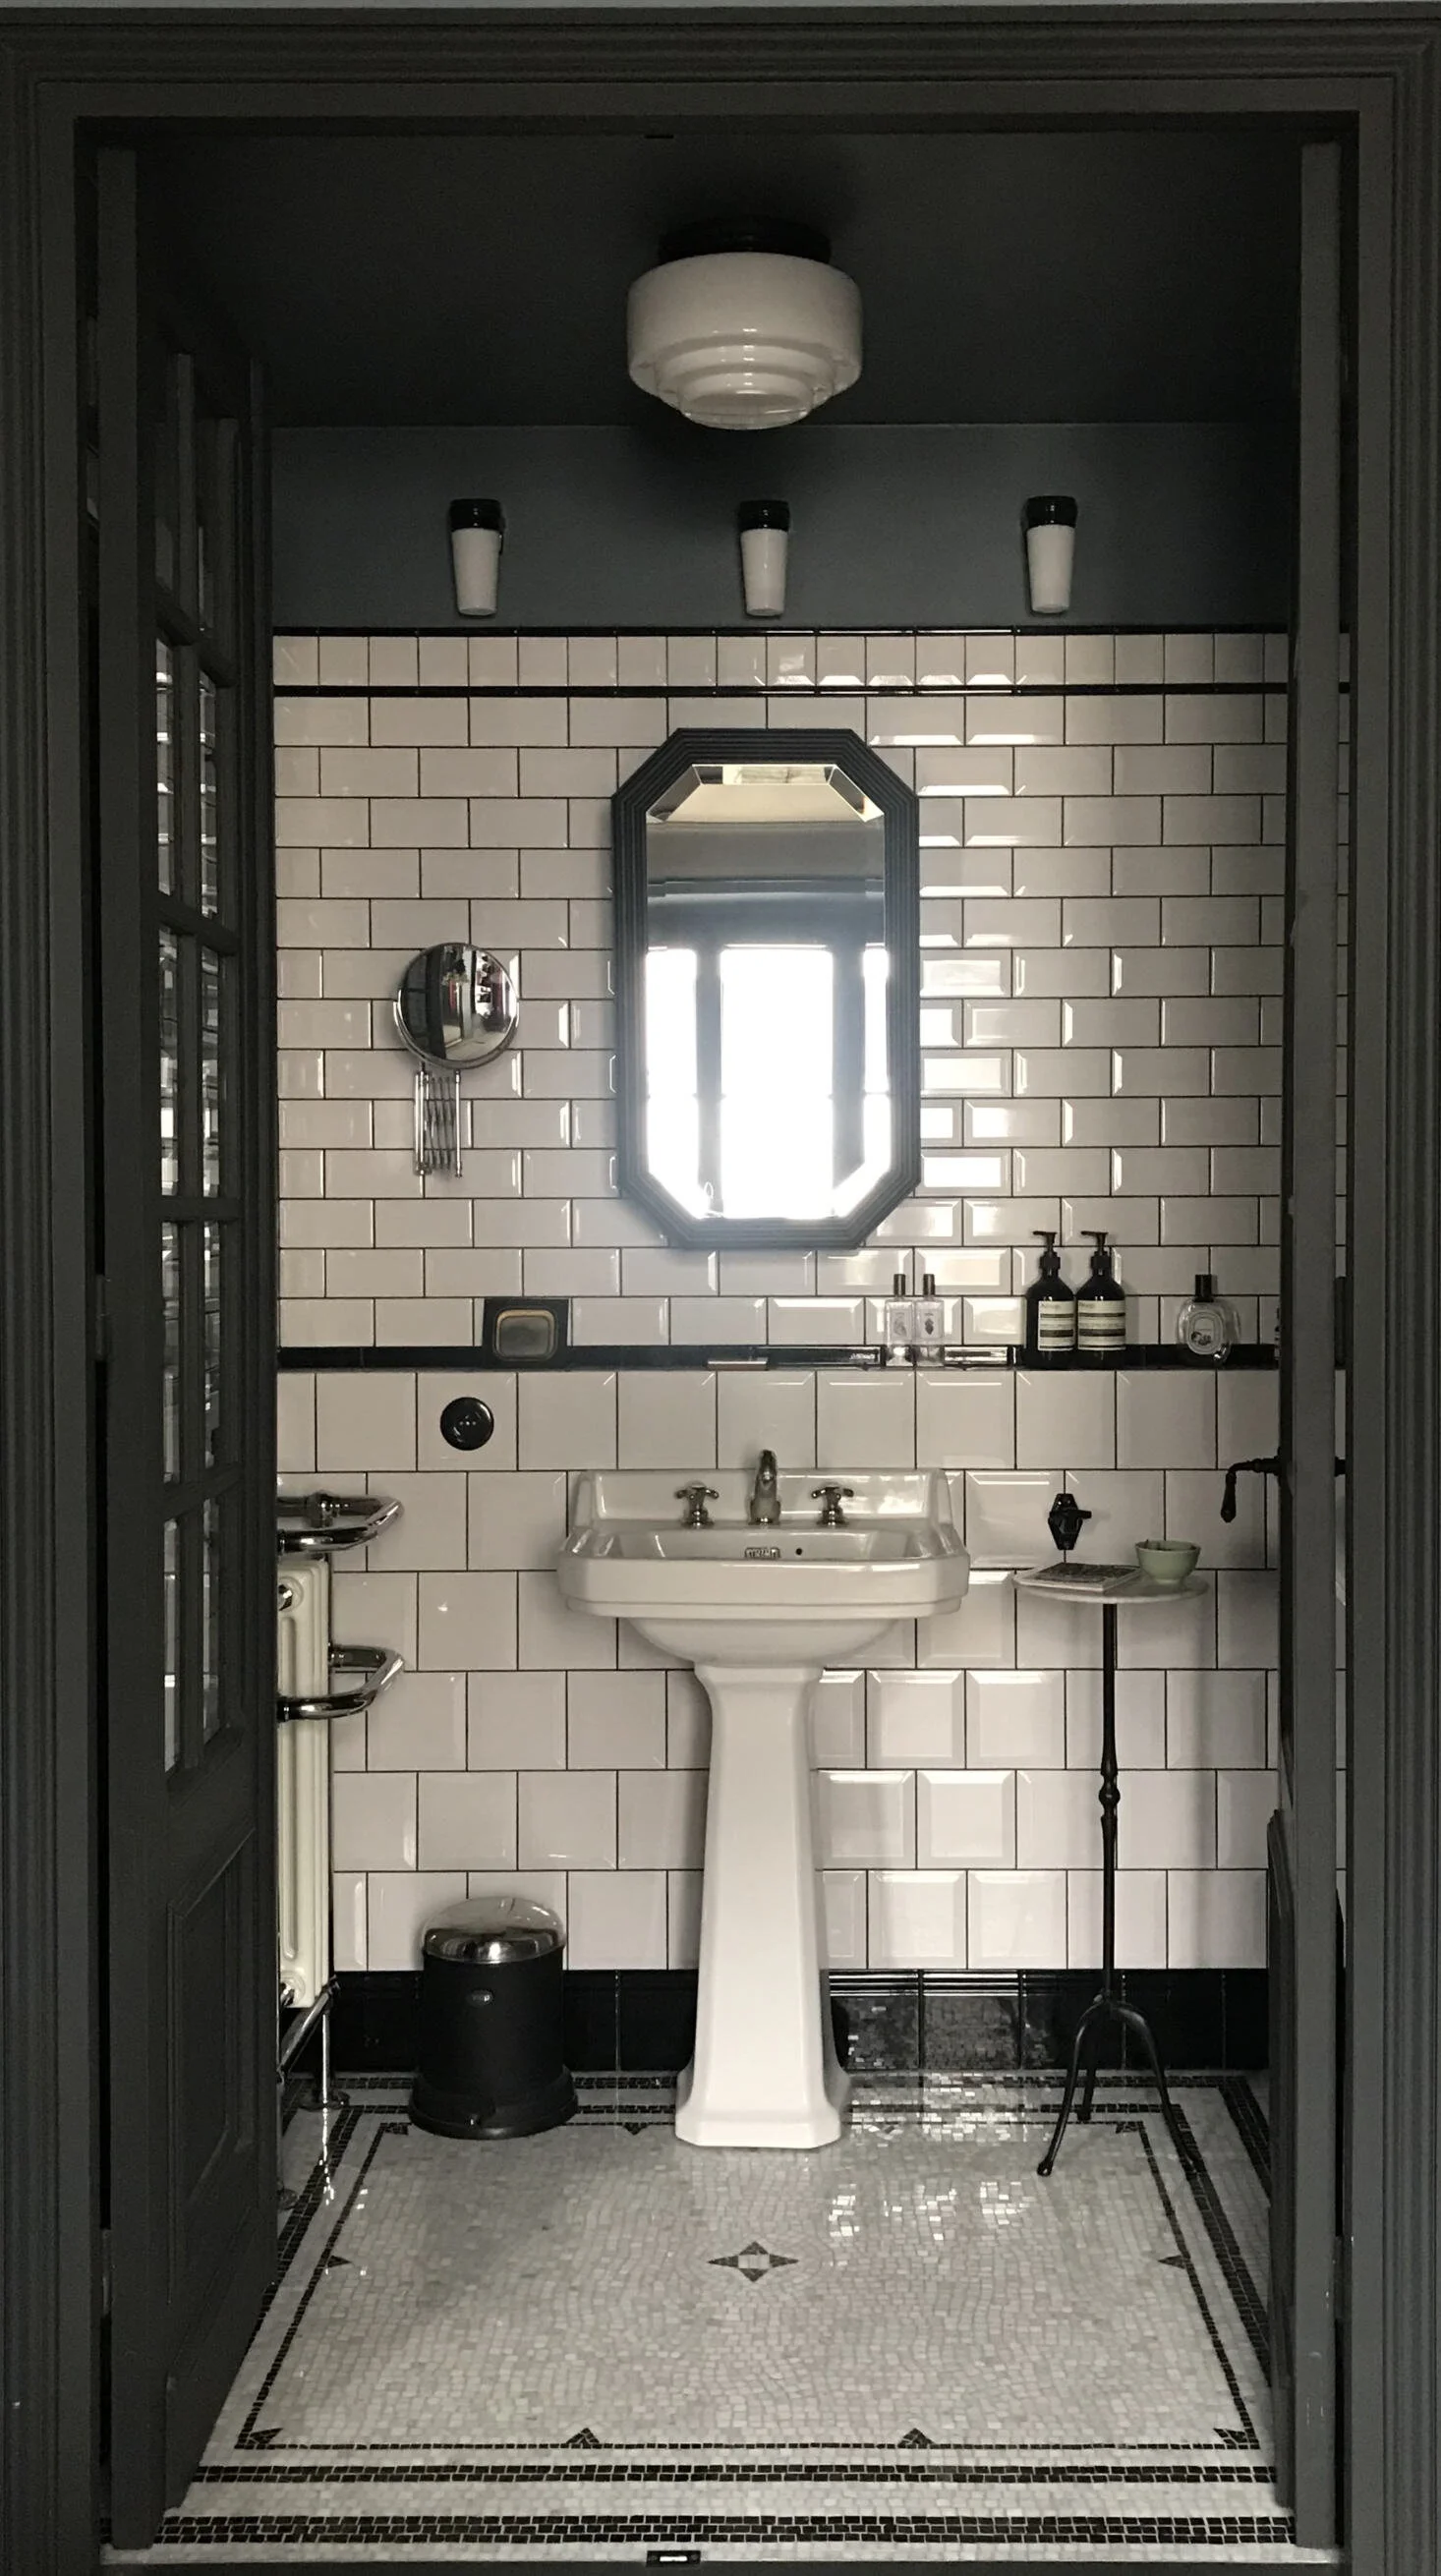
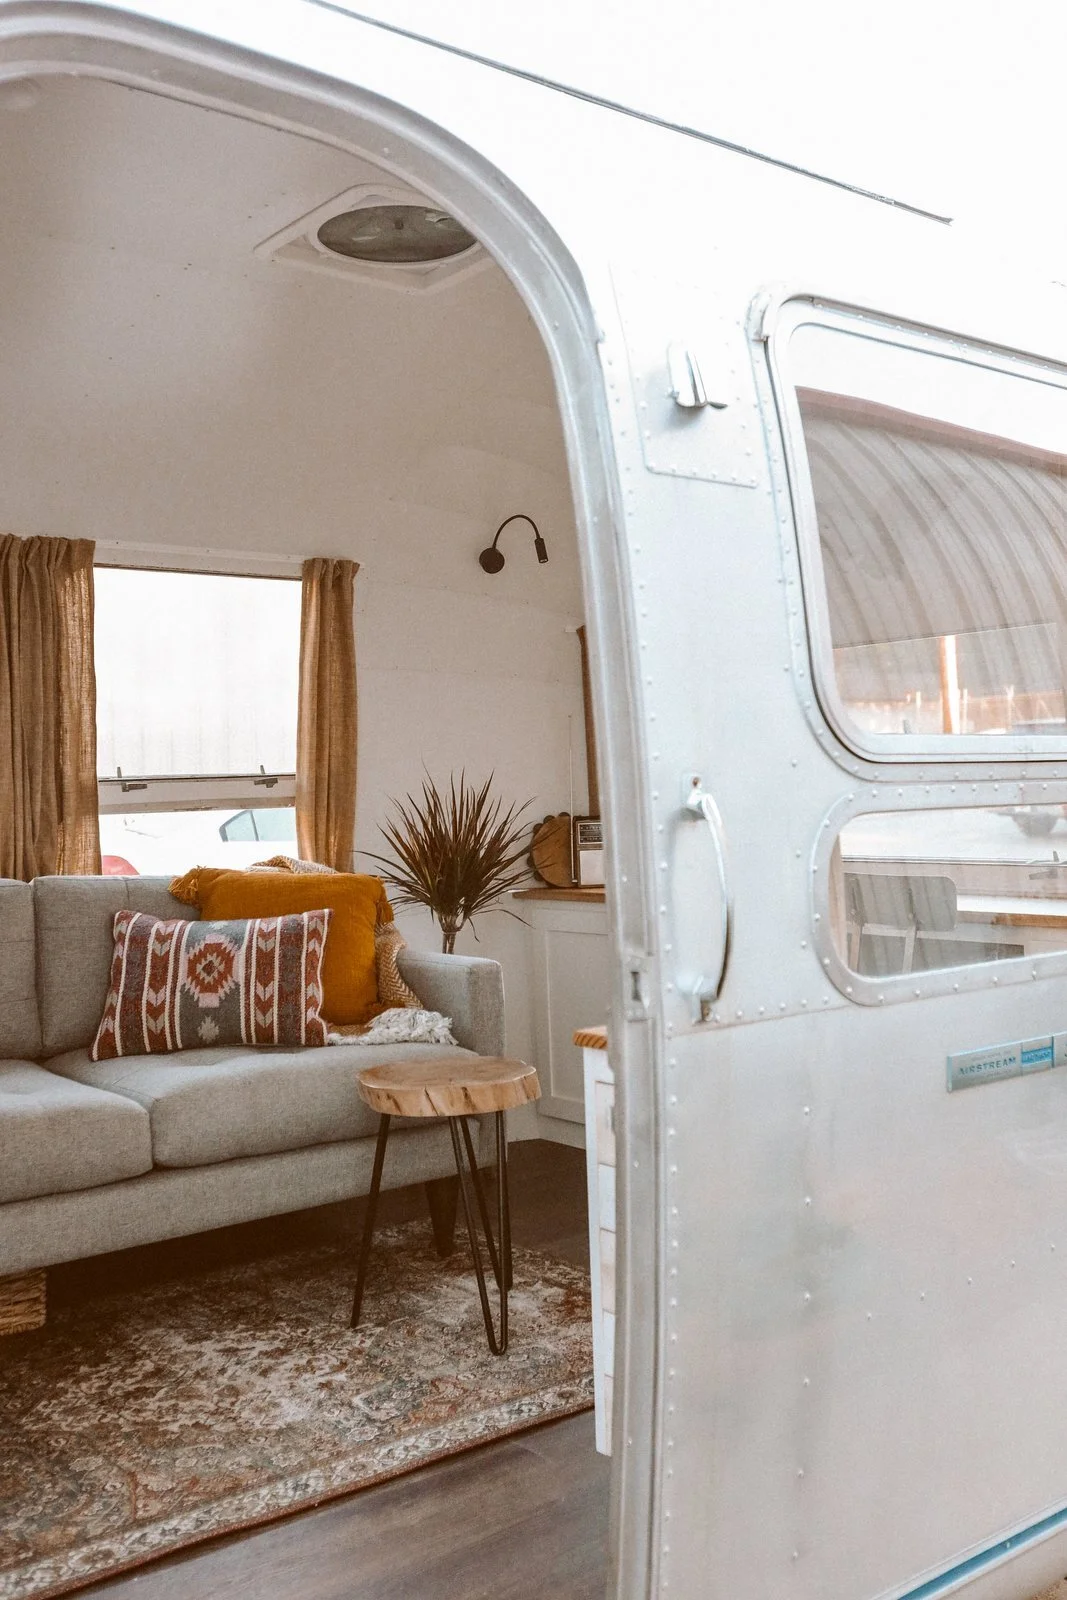
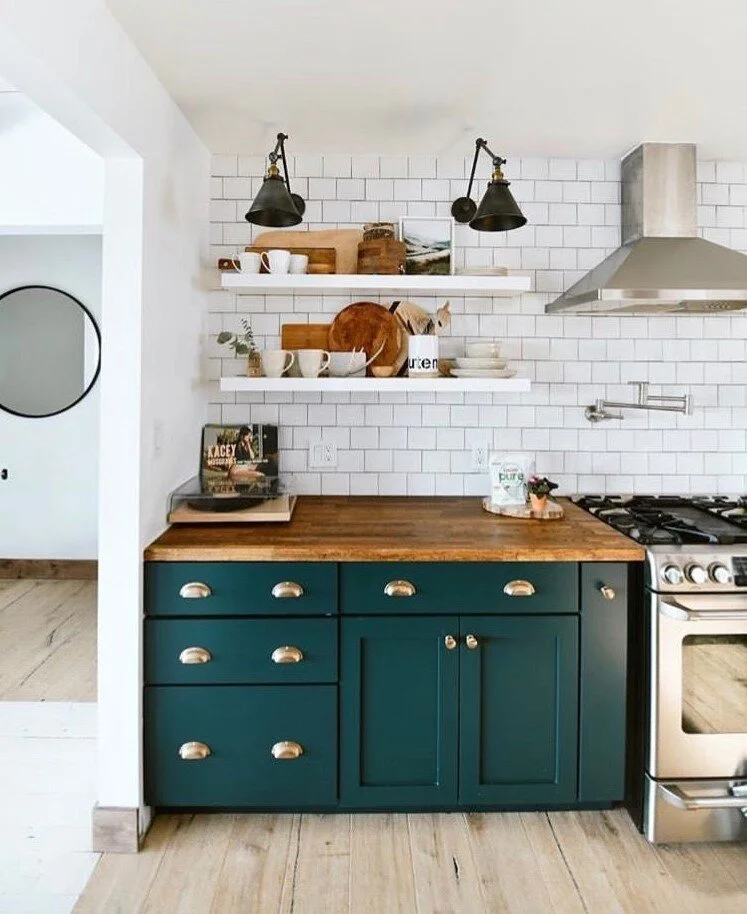
The progress isn’t super flashy, but we are feeling more and more confident that Pauline will be able to withstand the elements, and we are getting excited to get back to work on the interior! To that end, please enjoy some inspiration pics of what we’re envisioning:
Affiliate Links - If you click on the links below and buy something, we could earn a small commission. It doesn’t cost you anything extra, and we only recommend products we have used and loved.
Materials
*Recommended with reservations - we’ve had issues with this tool jamming, but we’ve also been able to disassemble and remove the jam each time. Obviously, this isn’t ideal, but for the price, it gets the job done. We’ve set over 1000 rivets with this gun. As long as you’re willing to do a little maintenance, it’s worth the money.